FreeUpscaler
Runs on your GPU · nothing uploaded

Sharpen Video

Crisper edges without the bright halo that gives processed footage away. Runs on your own graphics card — free, unlimited, and nothing leaves your device.

  • No sign-up
  • No watermark
  • Unlimited
  • Free tools never upload
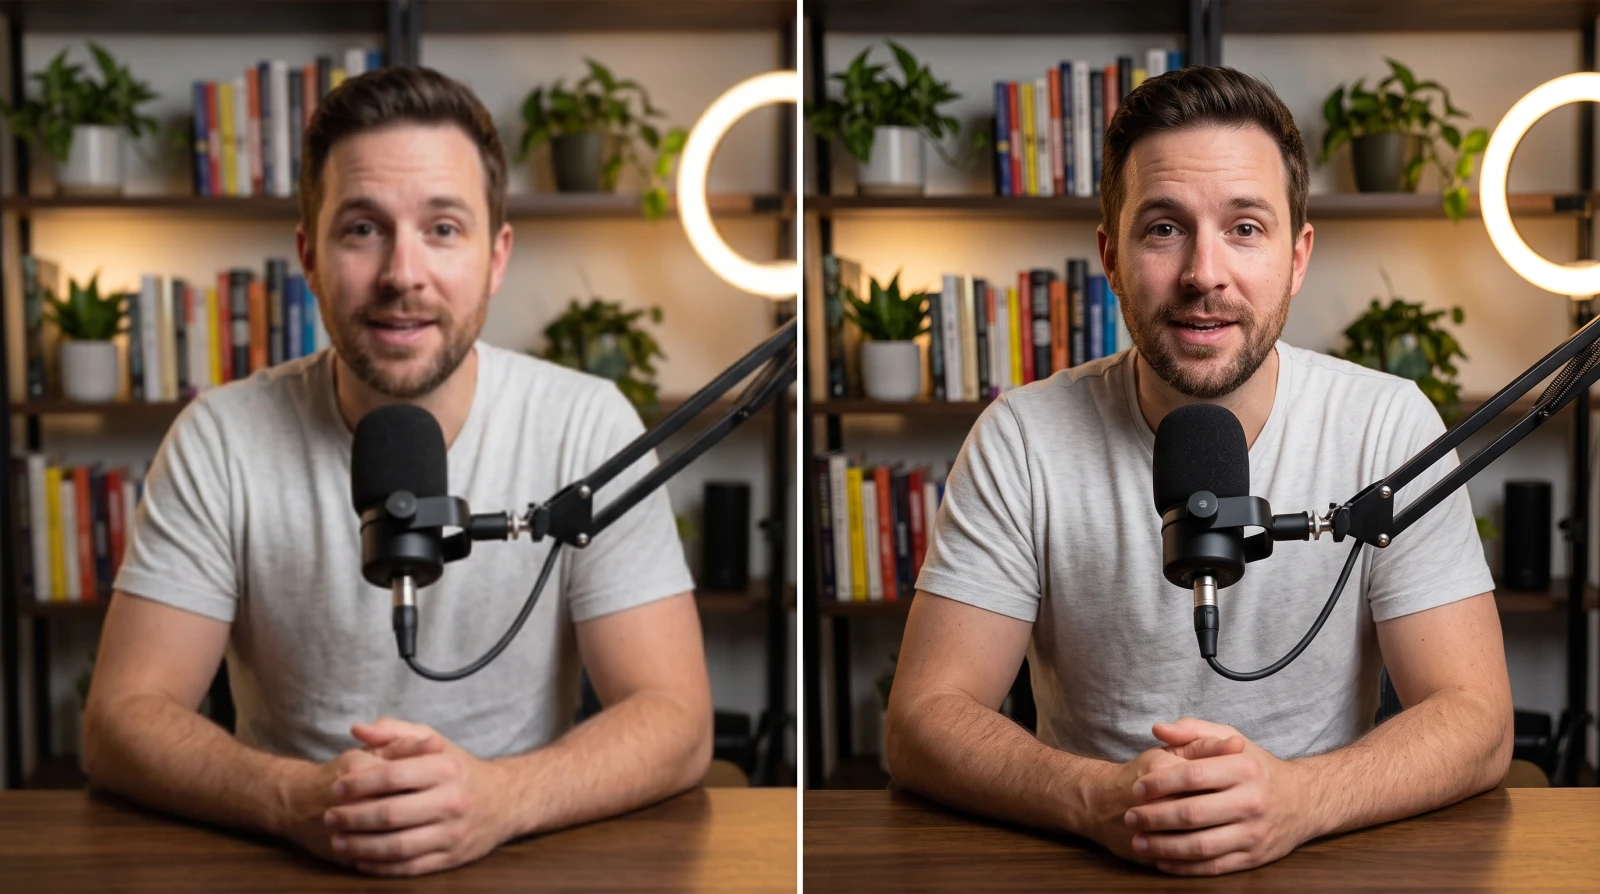
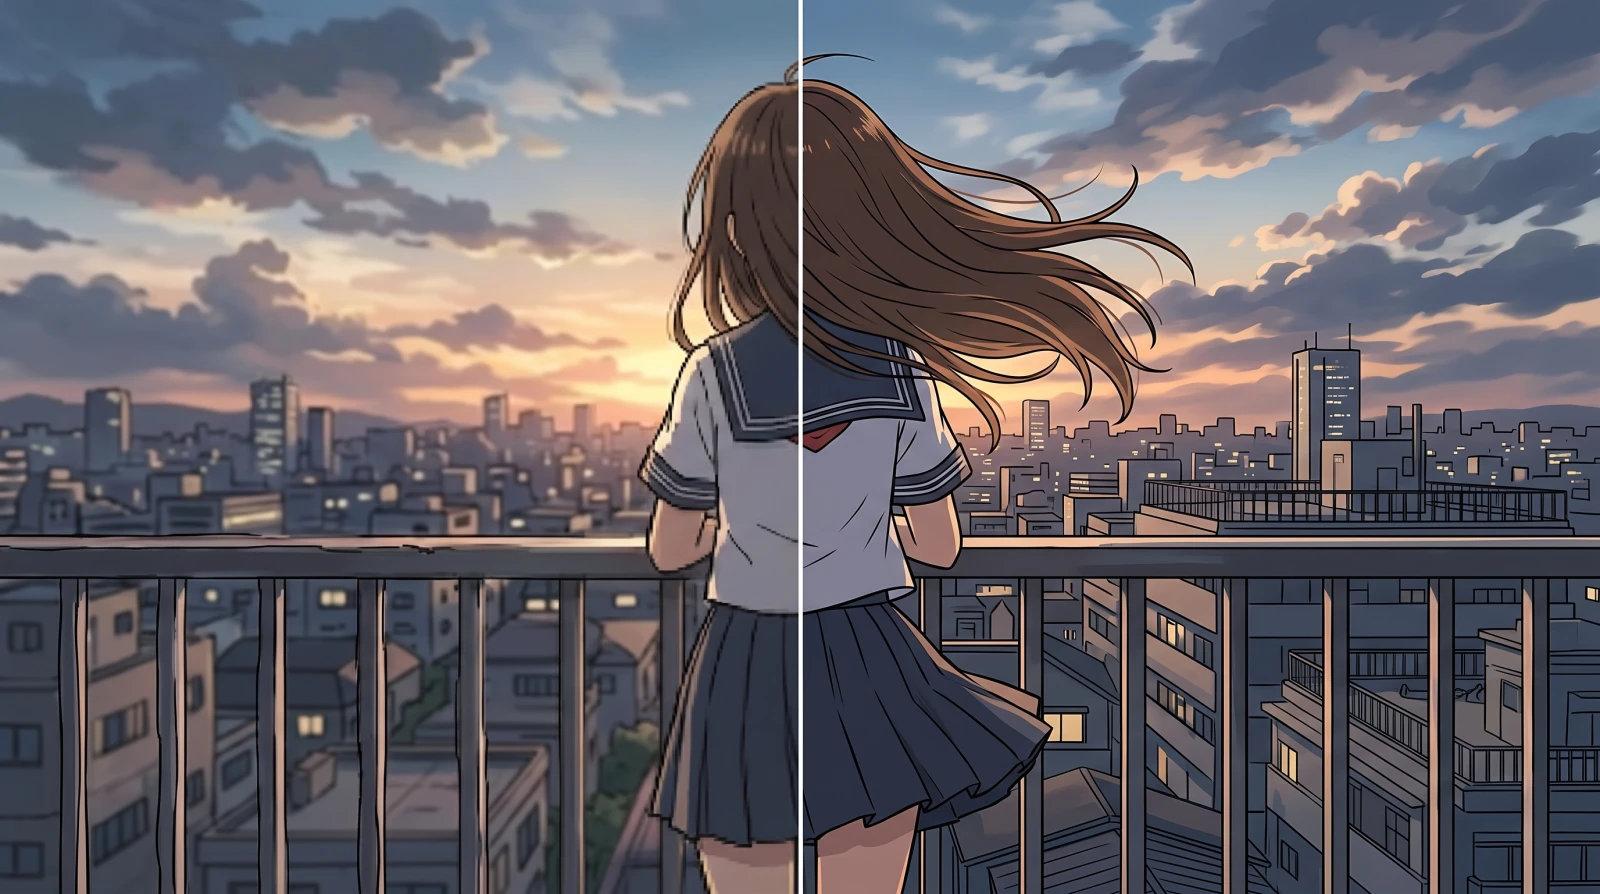
The sample before processing
The same sample untouched, for comparison
Example · not your fileBeforeAfter

Drop videos here

Videos run one at a time

Checking what this device can do…MP4, WebM, MOV and MKV containers all open. The audio track is carried across untouched.

How to sharpen a video, free and without an upload

Drop the file into a browser tool that processes it locally. FreeUpscaler decodes the video frame by frame, narrows the soft edges on your own graphics card, then re-encodes it — all inside the tab, with no upload, no account and no watermark.

Sharpening does not add detail. It makes the detail already in the frame easier to see, by steepening the transition across every edge. Measured on seven clips that had been deliberately blurred, this recovers about a third of the edge definition the blur removed.

Footage that is already sharp is the case where sharpening costs more than it returns — the numbers for that are further down, not hidden.

See it work

Does sharpening actually make a soft video clearer?

Yes, partly, and here is exactly how much. One clip, blurred by a known amount, run through the method this page uses to sharpen video, next to the frame it came from.

34.5%
Of the lost edge definition recovered
mean over seven test clips
6 ms
Per 1080p frame
no download, laptop GPU
0
Files uploaded
everything stays in the tab
Free runs
no credits, no watermark
As it arrived — a 100% crop of the same frame

As it arrived · soft — edge gradient 21.4

Sharpened — a 100% crop of the same frame

Sharpened · Deblur (Light) — 22.1

The original — a 100% crop of the same frame

The original · what the blur removed — 27.6

The same frame at 100%, cropped to 420 × 236 pixels — a whole frame shrunk to fit a page looks identical whatever produced it. Individual hair strands separate again in the middle pane. The numbers are mean Sobel edge gradient over the clip; the right-hand pane is the ceiling, not a promise. All three came out of the evaluation run, and none was retouched.
The measurement

How much sharper, on what kind of footage?

Seven clips, each blurred by the same amount, each sharpened by each method, each scored against the frame it came from. Higher is closer to the original; the unit is mean Sobel edge gradient.

Test clipBlurred inputBalancedDeblur (Light)The originalGap recovered
Motion-graphics clip20.520.821.421.678%
Live action, wide18.119.020.321.761%
Live action, close19.720.422.024.250%
Cel animation, 19429.29.49.911.141%
Fashion, white studio5.95.86.17.220%
Graphic poster21.420.922.127.611%
3D forest, dark5.04.54.86.1−19%

Sharpen video with it and it was ahead on all seven, and the price it paid for that was 0.06 dB of fidelity — indistinguishable. Where it lands depends on what the footage is made of. Clips whose detail is concentrated in edges recover most; clips dominated by large flat areas recover least, because the filter works on the curvature of the brightness profile and a flat area has none.

The last row is the honest one. That clip is a dark 3D forest scene, fine-grained and low in contrast, and both methods came out softer than the input. The reason is not the filter: on the untouched control copy of the same clip, plain sharpening still measured 13.5% below the original, because the browser’s own H.264 encoder loses more edge contrast on dark fine-grained material than a sharpening pass can put back. If your footage looks like that, the right answer is to leave it alone.

Measured 30 August 2026 on an Apple M-series GPU in Chrome — seven clips, two degradations, four methods, 56 runs, plus four sweeps of the strength settings. The full record is in the repository as corpus/findings/sharpen-video.md.

The catch

What does sharpening cost when the footage was already fine?

Every tool in this category says its output is clearer. None of them says what happens when there was nothing to fix. We measured that on purpose, with a control copy of every clip that was re-encoded but not blurred.

On those seven untouched clips, sharpening video that did not need it pushed the edge contrast 10.3% past the original’s own, and ended up 1.09 dB further from it than Balanced did on the same files. Against the 0.06 dB it gives up on genuinely soft footage, that is eighteen times the price for none of the benefit.

Past the original is not a bonus. It is the crunchy, over-processed look, and it is what the eye reads as “this has been through something”. Two live-action clips took it worst, ending up around 15% over — real camera footage has slightly soft edges everywhere for the filter to grab.

There is a second cost underneath that one, and it applies to every tool in this category including this one: the output has to be re-encoded, and re-encoding is lossy. Our test copies scored about 52 dB against their originals before anything touched them; after a pass through the browser encoder, every method landed near 31 dB. That floor is the same whichever option you pick — but it is the reason the rule is not “sharpen everything a bit”. Sharpen footage that looks soft; leave footage that already looks right alone.

Already sharp — a 100% crop of the same frame

Already sharp · untouched — 27.6

Sharpened anyway — a 100% crop of the same frame

Sharpened anyway · 29.9 — 8.6% past the original

The same crop at 100%, from the control copy that was never blurred. The hair goes from defined to brittle, and PSNR against the original drops 1.80 dB on this clip.
Why it behaves this way

Why does a sharpness slider stop helping?

Because an unsharp mask raises the contrast across an edge without moving the edge. On genuinely soft footage that is nearly the wrong operation, and the numbers say so twice.

brightest value that was really there▬ the blurred edge, as it arrives — 4.23 px wide▬ unsharp mask at our strongest setting — still 4.01 px▬ the same mask cranked 13× — 2.71 px, and now it overshoots: the halo▬ shock filter, two passes (the default here) — 2.73 px, no overshoot
One blurred edge as a brightness profile, and three treatments of it. The dashed lines are the darkest and brightest values that were really there — anything outside them is a halo.

The standard method is an unsharp mask: subtract a blurred copy of the frame, which exaggerates the difference across edges. It makes edges read as more defined, and it does not make them any narrower. On a blurred step edge measured at its 10–90% rise, our strongest setting takes the transition from 4.23 pixels to 4.01 — five per cent. Crank the same filter thirteen times harder and it does get to 2.71 pixels, but by then it is pushing 6% of the brightness range past anything that was ever in the frame. That fringe is the halo, and it is why nobody ships an unsharp mask with the dial turned up.

So this pipeline clamps every sharpened pixel to the minimum and maximum of its four neighbours. Halos become impossible rather than unlikely — and the ceiling that comes with it is real: sweeping the sharpening amount across the whole range the catalogue offers moved the recovered gap from 1.1% to 8.2%.

Deblur (Light) does something else. Instead of pushing each pixel away from its neighbours’ average, it moves it towards whichever side of the edge it is already nearer, so the transition itself narrows — 4.23 pixels to 2.73 in two passes. That is the width the unsharp mask needed thirteen times its rated strength to reach, arrived at without a pixel leaving the range its neighbours already spanned. A 35% narrower edge against five, which is why the field measurement came out 34.5% against 4.8%. Both properties are asserted in the test suite rather than observed once.

Which method

Which of the two methods should I use?

Two, not four. Four methods qualified on capability; two of them made the test footage measurably softer than it arrived, so they are not offered here.

MethodBest forRecoversCost on already-sharp footageSpeedDownload
Deblur (Light) — defaultFootage that genuinely looks soft34.5% of the gap+10.3% past the original · 1.09 dB further from it≈ 6 ms / 1080p frameNone
BalancedA light lift when you are not sure4.8% of the gap+0.8% past the original · the safer of the two≈ 6 ms / 1080p frameNone

Both run on your GPU as shader maths, so neither costs a download and neither is measurably slower than the other — across all four methods tested, the spread was 5.97 to 6.03 milliseconds per 1080p frame. The first job of a session pays about 3.4 seconds extra while the shaders compile; every job after that is warm.

And the strength dial behind them

The method carries one setting, labelled Deblur in the options popover, and unlike a sharpness slider it does something at every step: each notch runs the edge-narrowing pass one more time. Each notch is worth about fifteen more points of recovery on soft footage — and about four and a half more points of overshoot on footage that was already sharp.

SettingRecovered on soft footageDistance from the original frameOvershoot when nothing was wrong
Off — this is Balanced4.8%31.36 dB+0.8%
Light19.3%31.59 dB+5.5%
Medium — the default34.5%31.30 dB+10.3%
Strong50.7%30.86 dB+14.2%

Light is the free one. It is the only row that beats plain sharpening on both counts at once — four times the recovery and closer to the original frame. After that the trade begins: Medium buys fifteen more points for 0.29 dB, Strong another sixteen for 0.44 dB more. Even at Strong the result stays under the original’s own edge contrast on genuinely soft footage, so it is not over-sharpening — just further from the exact pixel values. If the result still looks soft, Strong is the setting to reach for. If it looks brittle, go down a notch.

The two methods that are not here were cut on evidence, not taste. Anime Lines and Soft both carry a noise reduction pass that runs before their sharpening, and on this page’s corpus the smoothing won: they came out 17.5% and 35.9% below the edge definition of the footage they were given. On a page whose entire job is the opposite, offering them would be two implicit promises behind two measured ones. Soft may yet earn a place — its home ground is noisy footage, and the video corpus has no noisy same-size recipe to test it on, so it is untested rather than beaten.

Set expectations

What can sharpening a video fix, and what can it not?

Knowing which case you have takes ten seconds and saves a re-encode. Most of what follows points at a row in the table above; the last two are limits no filter gets around.

  • Improves a lot

    Footage that is genuinely soft

    A lens that is not especially sharp, a conservative camera profile, a clip that has been through a re-encode or two. This is the case the page exists for: 50% and 61% of the lost edge definition came back on the two live-action clips in the run.

  • Improves a lot

    Animation, graphics and screen recordings

    Material made of edges rather than continuous texture is what the filter is best at. The best result in the whole run was 78% on a motion-graphics clip; a 1942 cel-animation clip recovered 41%.

  • Improves some

    Footage that already looks right

    It will still change, and not for the better: 10.3% past the original's own edge contrast, and 1.09 dB further from it than the gentler option. If you want a light lift anyway, use Balanced, which stayed within 0.8%.

  • Improves some

    Posters, titles and flat studio backgrounds

    Large flat areas recovered only 11–20%. The filter works on the curvature of the brightness profile, and a flat area has none — there is genuinely nothing there for it to act on.

  • Cannot be fixed

    Dark, fine-grained, low-contrast footage

    The one clip in the run where every method went backwards. The browser's own H.264 encoder loses more edge contrast on this material than any sharpening pass puts back, so re-encoding it costs you whatever you gain.

  • Cannot be fixed

    Motion blur and heavy defocus

    Each point of the scene was smeared across pixels while the shutter was open. Sharpening makes the blur itself crisper. That information is gone, not hidden. The test for which kind you have takes one frozen frame: if a still, static part of the picture is sharp and only the moving part is smeared, it is motion blur and nothing here will help.

  • Cannot be fixed

    Low-resolution footage on a big screen

    Sharpening a 480p clip makes the existing pixels harder, not the picture better. Enlarge it instead — the upscaler reconstructs at a larger size and sharpens as part of the same pass.

How to use it

Three steps, no account

Everything happens on this page. There is no upload to wait for and no email to confirm.

  1. Step 1

    Drop your files in

    Drag one video or a dozen onto the box above, or click to browse. The page checks what your device can handle before you choose a file, so you learn about limits up front rather than half-way through a job.

  2. Step 2

    Judge it on real detail

    Drag the before/after slider over hair, fabric, foliage or type — not over a flat wall, where by definition nothing changes. If the after side looks brittle rather than defined, switch to Balanced and let it re-run.

  3. Step 3

    Download it

    No watermark, no sign-up, no cap on how many times you do it. The audio track is copied across in its original form rather than re-encoded, so it loses nothing and stays in sync.

Why it is different

Free without an asterisk

Genuinely unlimited

No credit counter, no daily cap, no 30-second trim. Your GPU does the work, so a hundredth clip costs us exactly what the first one did: nothing.

Nothing is uploaded

Files are decoded, sharpened and re-encoded inside this tab. There is no server in the loop and nothing for us to store.

No account, no watermark

No email, no sign-in wall before the download button, and no logo stamped across your result.

Works offline

Load the page, disconnect from the internet, and it still runs. That is the proof the privacy claim is real, and it takes ten seconds to check.

Starts instantly

Both methods are shader maths — no model download, no queue, and processing starts the moment you drop a file in.

The cost is published

Where sharpening makes footage worse, this page says so and gives the number. That is the part of the measurement a marketing page would leave out.

How it runs

Where does the sharpening actually happen?

The file is decoded, sharpened and re-encoded entirely inside this tab, on your own hardware.

What happens to a frame

Your browser demuxes the container and decodes the video stream frame by frame through WebCodecs. Each frame is uploaded to your graphics card as a texture, run through the shader passes the chosen method needs, and read back. Finished frames go straight into your device’s own hardware H.264 encoder.

Frames are decoded rather than played back, so a job is not tied to the clip’s running time and does not stop when you switch tabs. The encoded audio is copied across without being decoded, which costs nothing and loses nothing. More detail on how it works.

What it costs in time

About 6 milliseconds per 1080p frame, which is roughly seven times faster than 24fps footage plays — a one-minute clip finishes in well under a minute. Output size is what costs time, not clip length: a vertical 1440 × 2560 frame took about 10 milliseconds in the same run.

The one method that does not run here

Everything above describes the free methods, which is all of them but one. The picker also carries Topaz Artemis, which runs on a rented GPU rather than yours: the clip is uploaded, processed by Topaz’s own network for degraded footage, and the result comes back to your account. It needs an account because it costs money to run — the price is worked out from the length of your clip and shown on the button before anything is sent. Nothing else on this page uploads a file, and the free methods never will.

When it will not work

Two APIs do the heavy lifting. WebGPU gives the page your graphics card; WebCodecs gives it the video decoder and encoder. Desktop Chrome and Edge have both, Safari 26 is catching up, Firefox is still rolling WebGPU out. Phones qualify on paper but have far less GPU memory, so long clips tend to fail part-way — the page checks your device and says so before you pick a file.

More tools

Not quite the job you have?

FAQ

Frequently asked questions

How do I sharpen video for free?+

Drop the file onto this page. It is decoded frame by frame in your browser, each frame is sharpened on your own graphics card, and the result is re-encoded locally — no upload, no account, no watermark and no length limit. The method this page uses to sharpen video needs no download and produces a 1080p frame in about 6 milliseconds, so a one-minute clip finishes in well under a minute.

Does sharpening a video actually add detail?+

No, and anything that says otherwise is selling something. Sharpening increases contrast across edges that are already in the frame, which makes the detail that was captured easier to see. Measured across seven test clips that had been deliberately softened, this recovered 34.5% of the edge definition that the blur removed — a real improvement, and a long way from restoring the original.

Will sharpening leave halos around the edges?+

No, and that is enforced rather than tuned. Every sharpened pixel is clamped to the minimum and maximum of its immediate neighbours, so it cannot end up brighter or darker than anything that was really there — which is exactly what a halo is. The test suite asserts it over twenty thousand random neighbourhoods rather than taking it on trust.

How much sharper does it actually get?+

It depends on how soft the footage was to begin with. On seven clips blurred by the same amount, this page recovered between 11% and 78% of the lost edge definition on six of them, and averaged 34.5% over all seven. The seventh went backwards: a dark, fine-grained 3D forest scene, where the browser's own re-encode costs more sharpness than any filter here adds.

Which method should I pick?+

Start with the default, Deblur (Light) — it is the stronger of the two and it won on all seven test clips. Switch to Balanced if your footage was already reasonably sharp and you only want a light lift: on already-sharp footage the default pushes about 10% past the original's own edge contrast, while Balanced stays within 1%. Both are instant and neither needs a download, so comparing them costs one re-run.

Is there a strength setting, and what does it change?+

One, in the options popover, labelled Deblur. It controls how many times the edge-narrowing pass runs, and every notch does something measurable: on the test clips it recovered 4.8%, 19.3%, 34.5% and 50.7% of the lost edge definition at Off, Light, Medium and Strong. The cost moves with it — on footage that was already sharp, the same four settings overshot the original by 0.8%, 5.5%, 10.3% and 14.2%. If the result still looks soft, go up; if it looks brittle, go down.

Why is the method that sharpens video called Deblur (Light)?+

Because the same filter is the default on the blurry-video page, and one implementation gets one name across the site rather than a flattering alias per page. What it does is narrow soft edges, which is what sharpening a soft video means. It is measurably the stronger sharpener of the two offered here.

Is it free, and is there a length limit?+

Free, unlimited, no watermark and no account. The work runs on your graphics card, so extra minutes of footage cost us nothing. Hosted tools cap you — 30 seconds, three exports a month, a sign-up wall — because they rent GPUs by the minute and have a bill to recover. We do not have that bill.

Is my footage uploaded?+

No. Decoding, sharpening and re-encoding all happen inside your browser tab. Load the page, disconnect from the internet, and it still works — that is the proof, and it takes ten seconds.

Should I sharpen or upscale?+

If the video looks soft because it is small — 480p or 720p on a big screen — enlarge it instead: reconstructing at a larger size is what recovers apparent detail, and sharpening happens as part of that pass. Sharpening alone is for footage that is already the right size and still looks flat. The video upscaler does the first job.

My H.265 or ProRes file will not open. Why?+

The container is rarely the problem — MP4, WebM, MOV and MKV all open. The codec inside is. Decoding runs on WebCodecs, which exposes whatever decoders the browser ships: H.264 and VP9 everywhere, AV1 on most current builds, H.265 and ProRes usually nowhere. Converting to H.264 first is the workaround.

More free tools on this site

Sharpen video right now

No account, no watermark, no length limit. Drop a file in and it is processed on your own machine.

Choose a file