Enhance a compressed or low-bitrate clip
BeforeAfter
No sign-up · no watermark · unlimited · runs on your device
or drop it here
Checking what this device can do…

2×, 3× or 4× on your own GPU, frame by frame.

Crisper edges, without the tell-tale halo.

Tightens soft edges, frame by frame.

More resolution and cleaner edges.

Turns blocks and stair-steps back into gradients.

Resamples the pixels, then writes a real DPI.

Takes out the grain, leaves the edges.

Tightens soft edges, keeps your dimensions.

2× or 4×, photos and illustrations.
Find the footage you have. Each says what to expect and which method to start with.
BeforeAfter
BeforeAfter
BeforeAfter
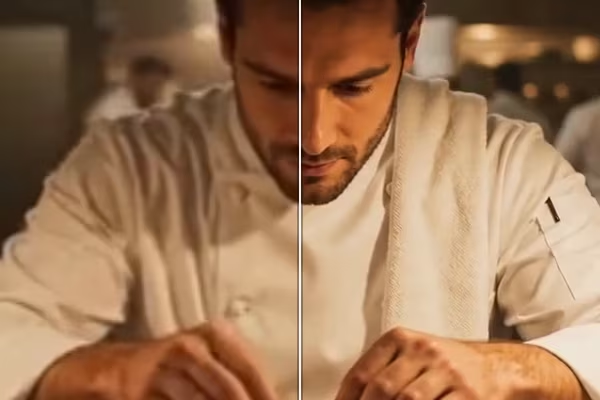
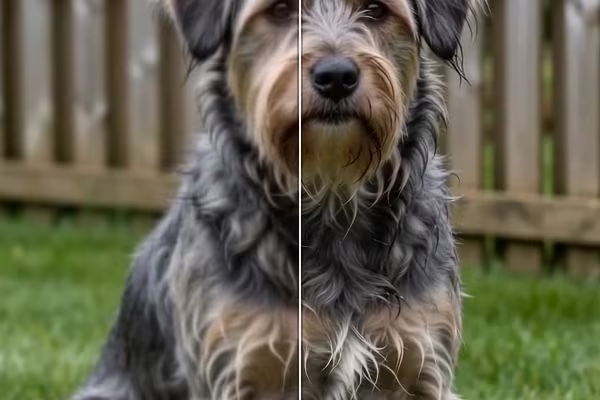
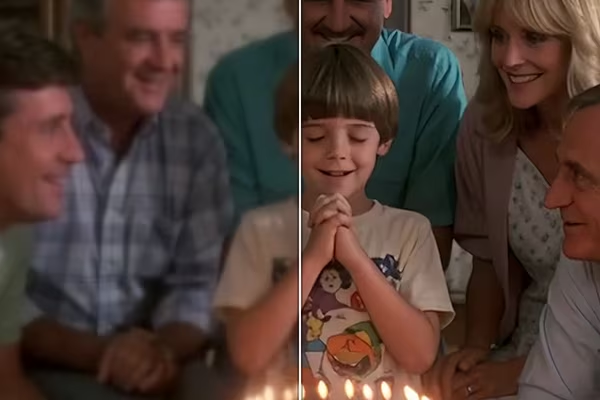
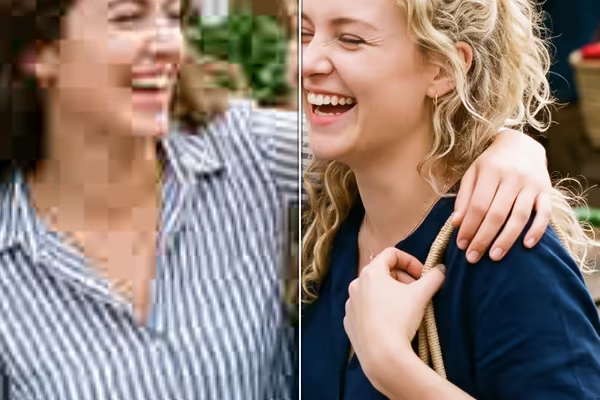
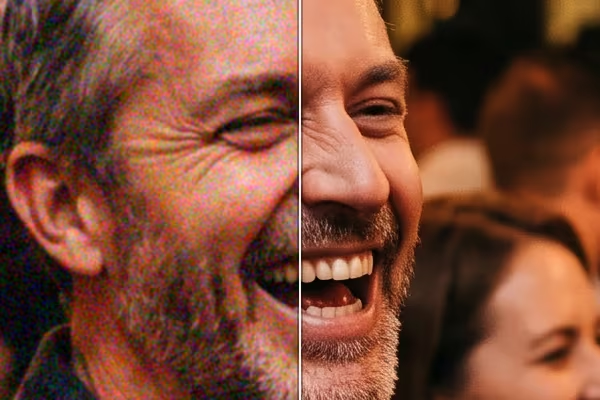
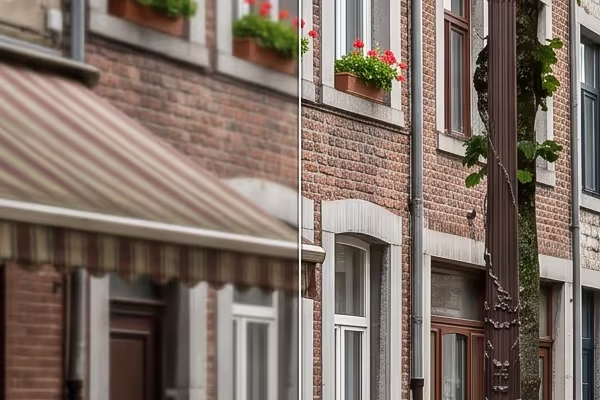
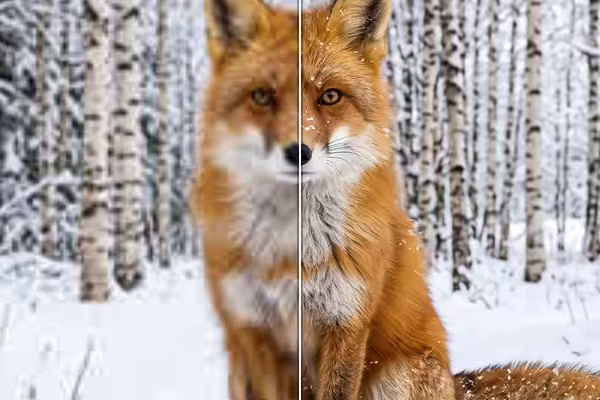
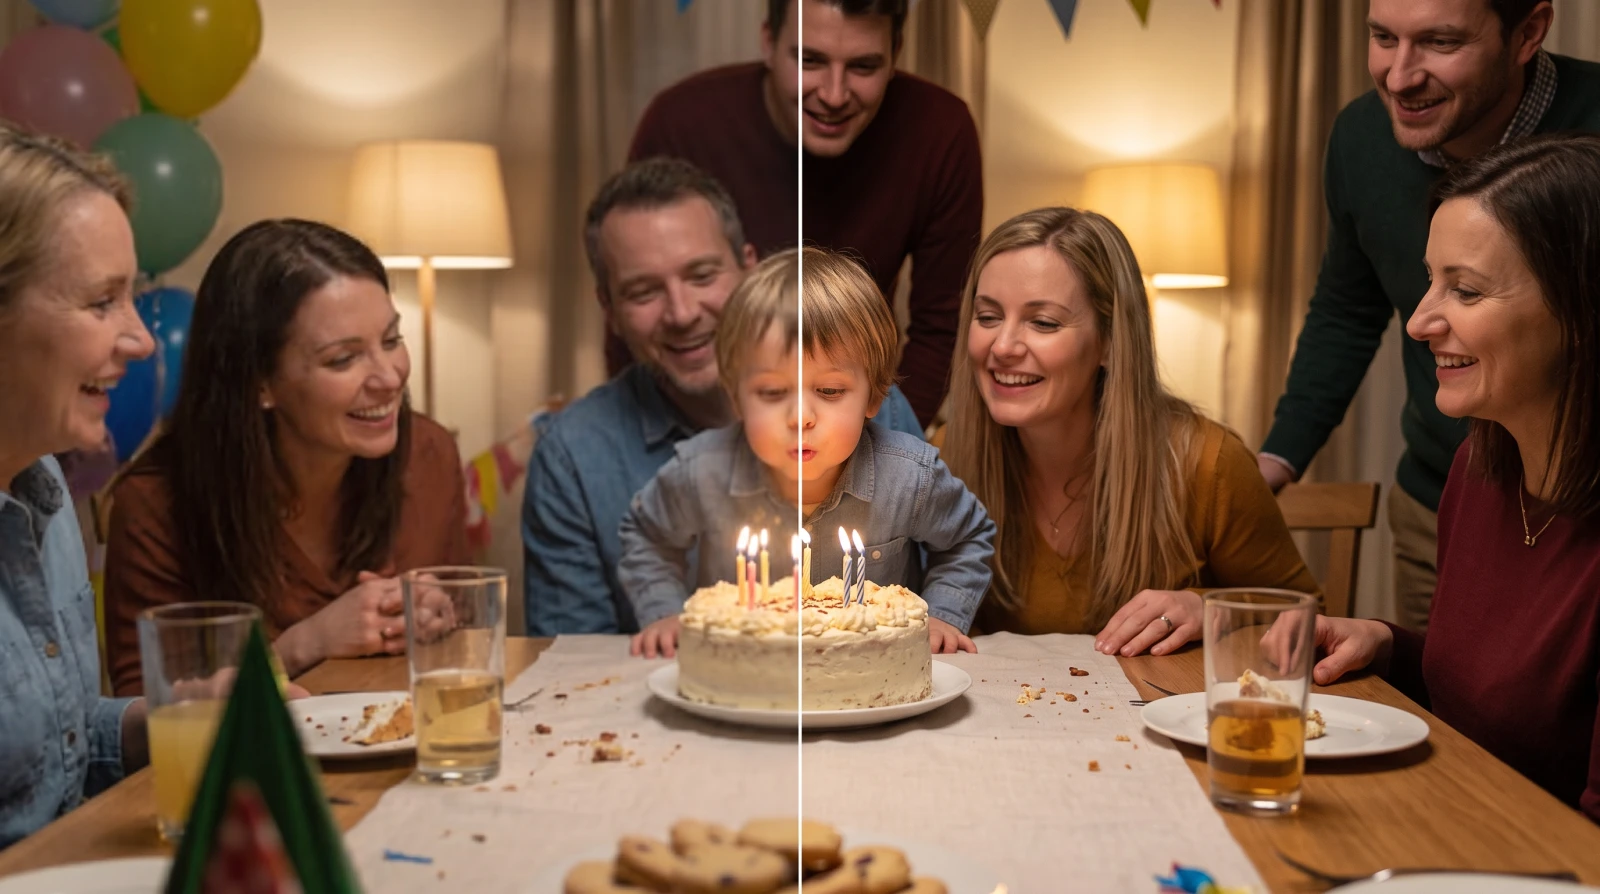
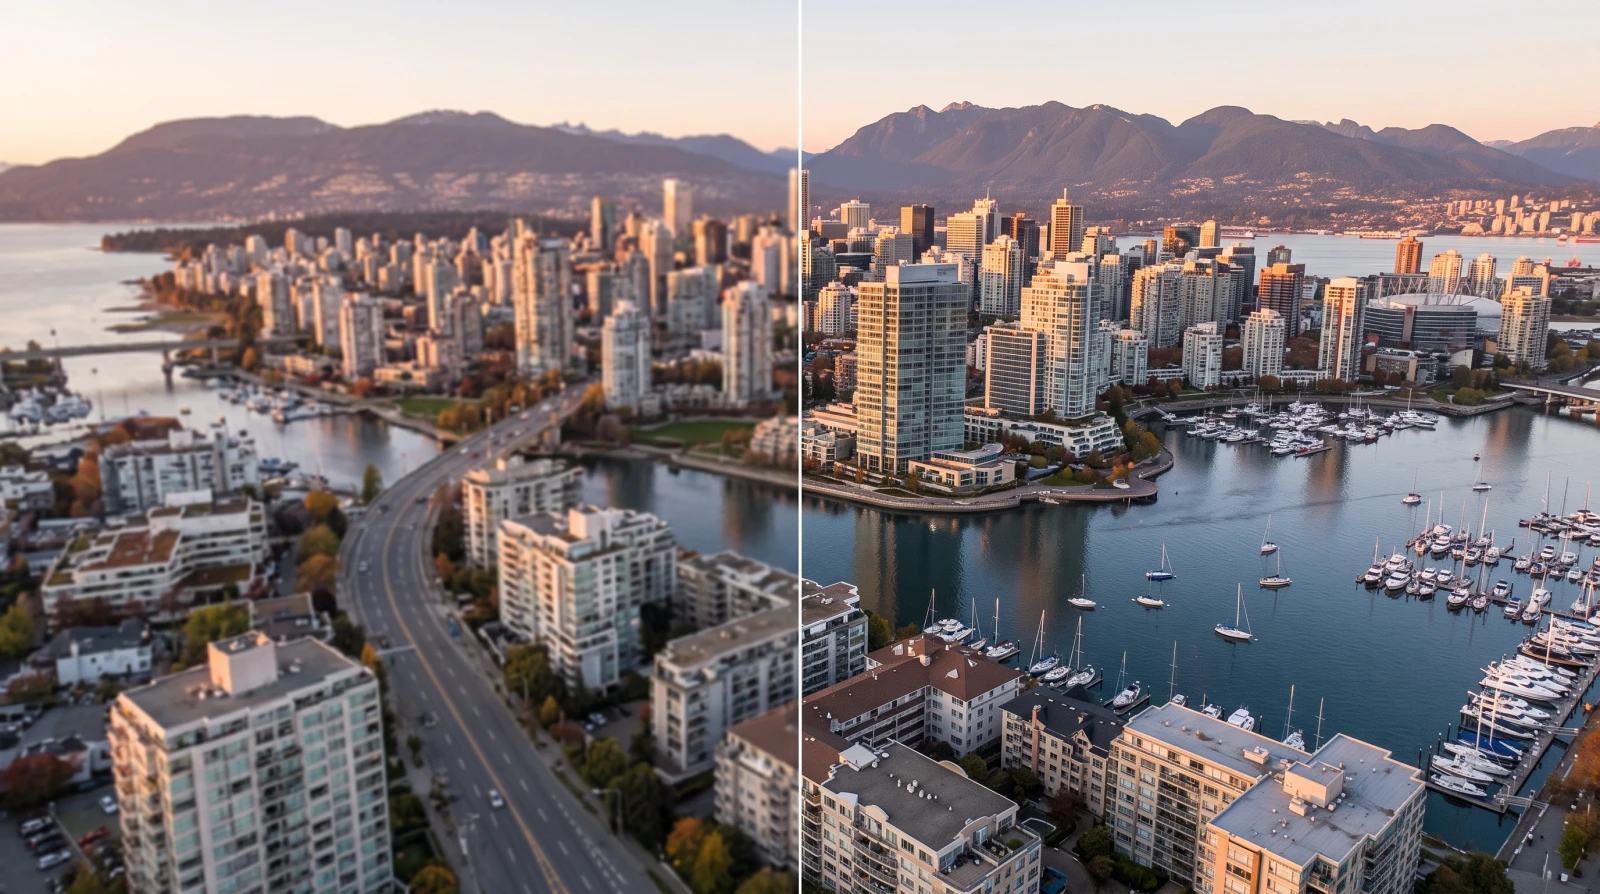
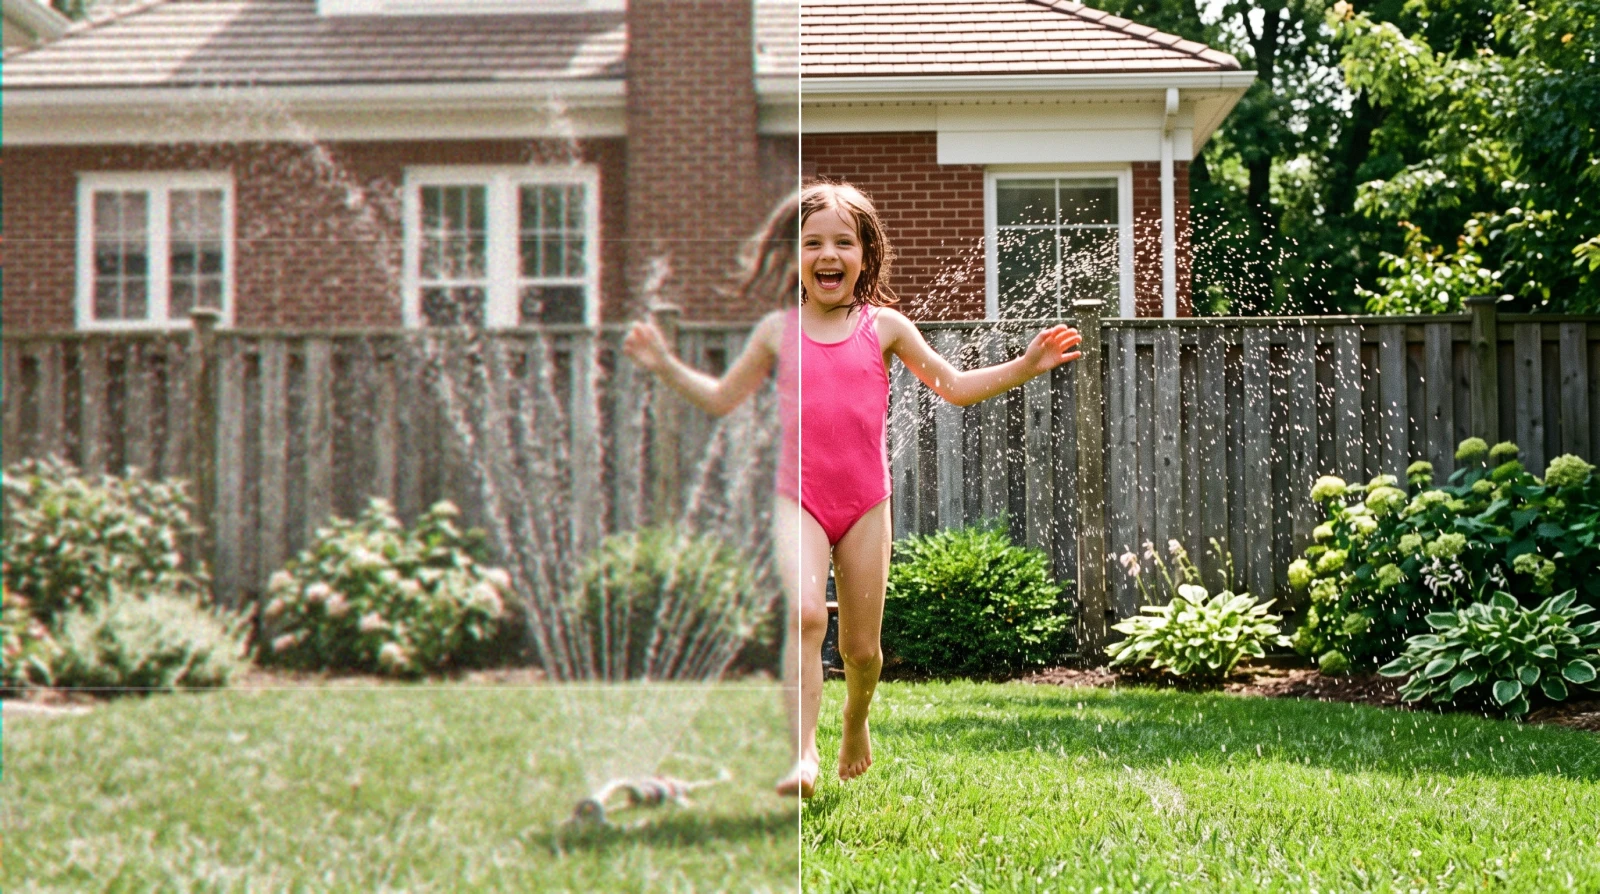
BeforeAfterThese are illustrations of the kind of footage, not results of a run. For a real one, drop a file in at the top of the page — the work happens on your own graphics card.
One file or a dozen. The page checks what your device can handle before you choose, so you hear about limits up front rather than half-way through.
Zoom into a flat area of a frame — a wall, a sky. Blocky patches mean compression, and that is the case to switch to the quick trained method. Clean footage stays on the default.
Drag the before/after slider over real detail rather than a flat area. Then download. No watermark, no sign-up, no limit on how often.
Every one of these runs on your own graphics card. On compressed test clips the quick trained method beat the default on all eight, at the same speed.
| Method | Best for | Scale | One minute of 1080p |
|---|---|---|---|
| Balanced (default) | Clean footage, and the safest first try | 2×, 3×, 4× | A few seconds |
| Anime (Noisy Source) | Compressed or low-bitrate clips, live action included | 2× | A few seconds |
| Live Action | Digital footage when you can wait for the best result | 2× | About 8 minutes |
The names come from what each method was first trained on, not from what it is limited to — on compressed footage the noisy-source one beat every other local method on both live-action test clips.
These upload the clip and run on our servers for credits. Precision models improve the pixels the frame already holds; generative ones draw new detail, which is a different promise.
| Model | Type | Best for | Per second at 1080p |
|---|---|---|---|
| Video Enhance | Precision | Cleans and enlarges without inventing anything | ≈ $0.02 |
| Topaz Proteus | Precision | The one that fits most clips | ≈ $0.06 |
| Topaz Artemis | Precision | Denoises and sharpens soft, damaged sources | ≈ $0.06 |
| AI Video Restore | Generative | Rebuilds detail the clip lost, frame to frame | ≈ $0.18 |
| Topaz Starlight | Generative | Rebuilds detail rather than recovering it | ≈ $0.06 |
Priced by the second at the size you choose, so 4K costs more than 1080p. The figure for your own file sits on the Run button before anything is sent, credits are spent per run with no subscription, and the result is kept for 30 days unless you delete it.
Drop the clip into a video enhancer that runs in the browser instead of on a server. FreeUpscaler decodes it frame by frame, rebuilds each frame larger and cleaner on your own graphics card, then re-encodes it — no account, no watermark, no cap on how often.
Which method to use depends on whether the clip was compressed. Clean footage is best left on the default; blocky, low-bitrate footage goes to the quick trained method. When a clip needs more than either can give, the cloud models pick it up and are priced by the second.
Detail that was never captured cannot be recovered — enhancing a 480p clip gives a cleaner, larger 480p, not a new master.

A smear recorded while the shutter was open is gone rather than hidden. Light softness has its own page, Unblur a Video; heavier blur is where the generative cloud models draw a plausible version instead.
Tape grain on a 320 × 240 frame leaves very little signal for a local method to rebuild from. The generative cloud models are made for this case, and cost more for it.
WebGPU and WebCodecs both have to be present, and today that means a desktop browser. Long clips at 4K can exhaust a graphics driver part-way; the same job often succeeds on a retry. The cloud models run on our servers instead of your device.
The container is rarely the problem — MP4, WebM, MOV and MKV all open. The codec inside is: H.265 and ProRes are usually not among the decoders a browser ships. Convert to MP4/H.264 first.
Drop the file onto the box above, keep the default or pick another method, and download the result. The video is decoded, rebuilt frame by frame on your own graphics card and re-encoded in this tab — no account, no queue and no email to confirm.
The local methods are. The work runs on your own hardware, so there is nothing for us to meter: no credit counter, no watermark, no cap on how many clips you put through. The cloud models are the exception — they cost credits, and each says so on its own row.
Not by the free methods. The file never leaves this tab, which you can verify: load the page, disconnect from the internet, and it still works. A cloud model is the exception and says so before it runs — it uploads the clip for that job, and the result is kept for 30 days unless you delete it.
In this category free usually comes with a condition attached: a 30-second cap, a watermark, three exports a month, a sign-up wall before the download button. Here the conditions are technical rather than commercial — a desktop browser with WebGPU, and a codec the browser can decode. Within that, the right method depends on the clip: the default for clean footage, the quick trained one for anything compressed.
It depends which of two jobs you want done. Precision models improve the pixels the frame already holds, and suit footage that is merely soft or compressed. Generative models draw detail that was never recorded, and suit old, damaged or very small sources — at a higher price and a much longer wait. No single model wins both.
Not the desktop app. Topaz's own video models — Proteus, Artemis and Starlight — run here in the cloud, billed by the second with the price on the Run button before anything is sent. There is nothing to install and no licence to buy.
If the footage looks fine and is simply too small for your screen, the video upscaler on the home page is the better start. If it looks compressed, grainy or soft, start here. Both rebuild the frame larger; this page leads with the methods that clean up damage on the way.
Partly. Compression damage from digitising comes out well, and the quick trained method beat the default on both old films we tested. What local methods cannot see through is heavy tape grain on a tiny original frame. For that, the generative cloud models are the tool — they draw plausible detail rather than recovering it.
Two browser APIs do the heavy lifting: WebGPU hands the page your graphics card, and WebCodecs hands it the video encoder and decoder. Desktop Chrome and Edge have both. Phones qualify on paper but have far less GPU memory, so long clips and 4K output tend to fail part-way. The cloud models do not depend on your device.
Credits pay for the cloud models, because those runs cost real money to perform. Signing in is the wallet for them and nothing else — the local methods never ask, and nothing about them is gated. A new account starts with 3 free credits, enough to put a few seconds of footage through the cheapest cloud model and see what it does.