Upscale a low-resolution image
A thumbnail, a picture saved off a web page, an old phone photo. The detail it has is spread over too few pixels, and rebuilding at 2× is what makes it hold up. Keep the default for a clean image.
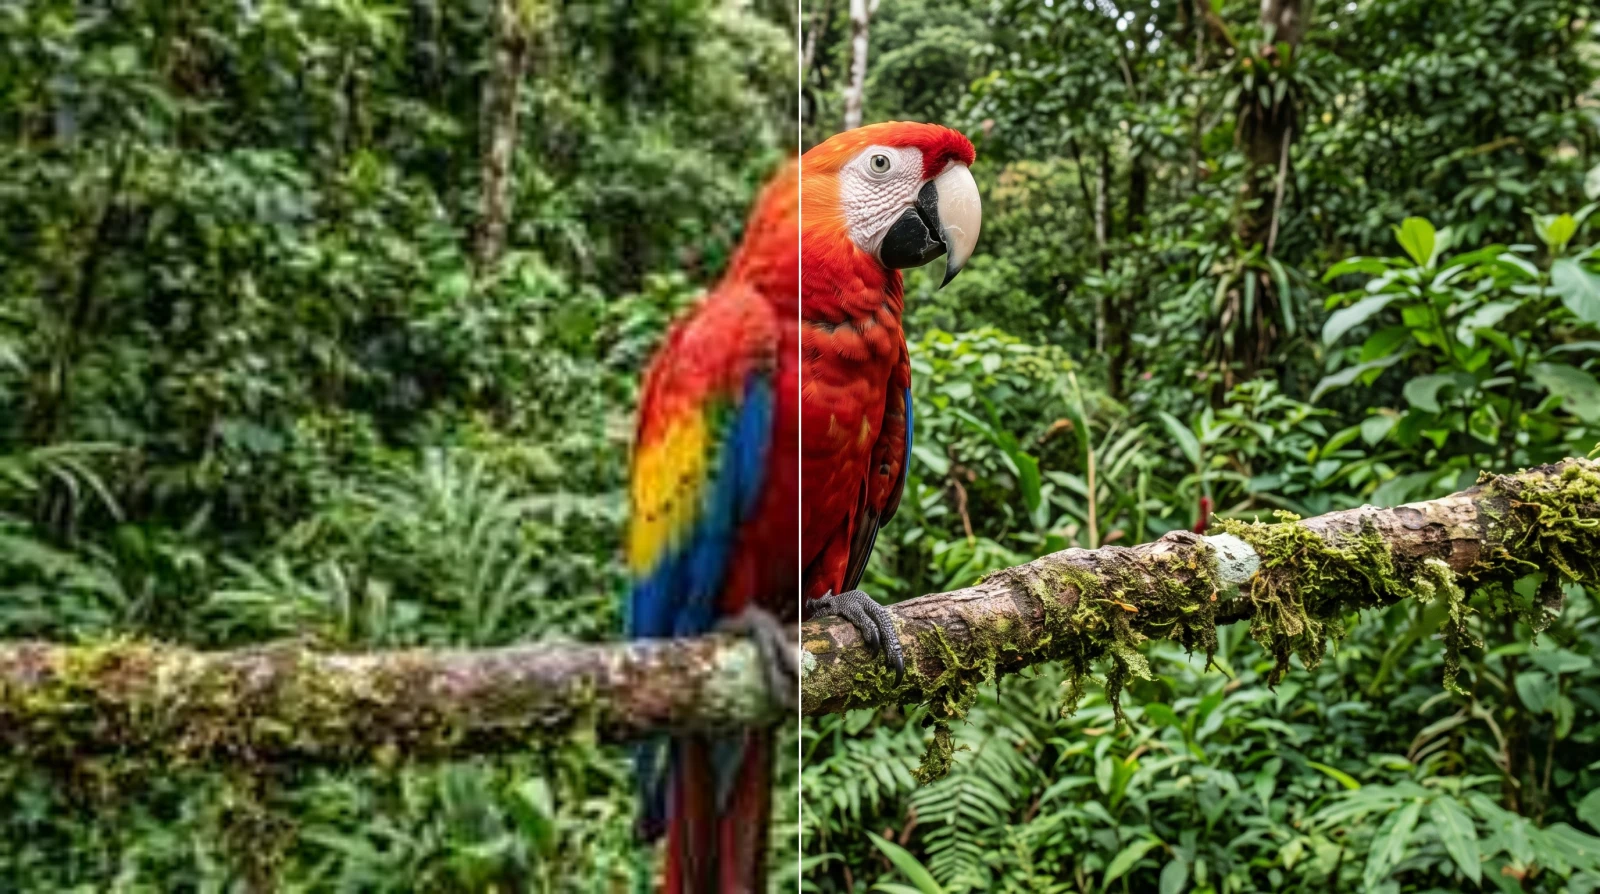 BeforeAfter
No sign-up · no watermark · unlimited · runs on your device
or drop it here
Checking what this device can do…
More resolution and cleaner edges.
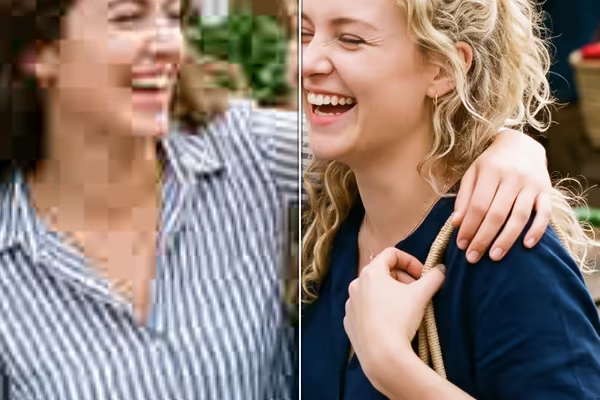
Turns blocks and stair-steps back into gradients.
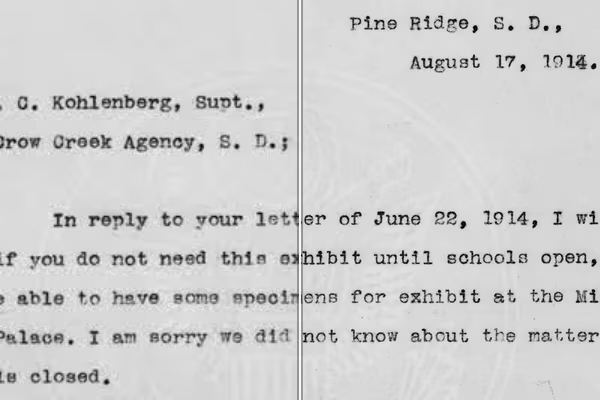
Resamples the pixels, then writes a real DPI.
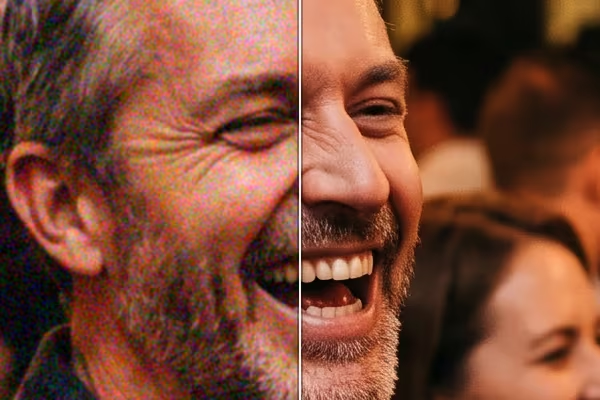
Takes out the grain, leaves the edges.
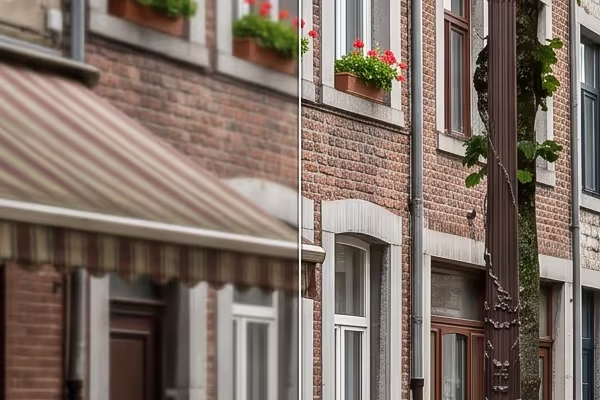
Tightens soft edges, keeps your dimensions.
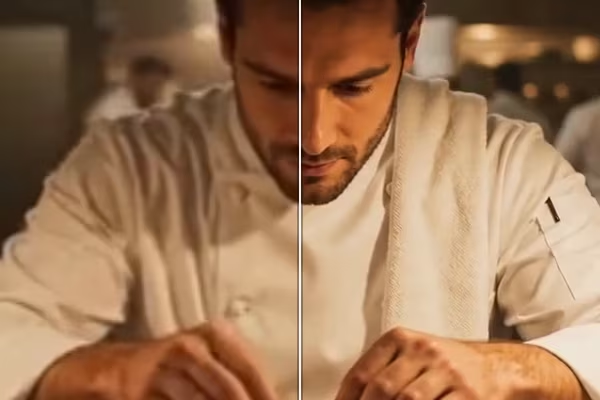
2×, 3× or 4× on your own GPU, frame by frame.
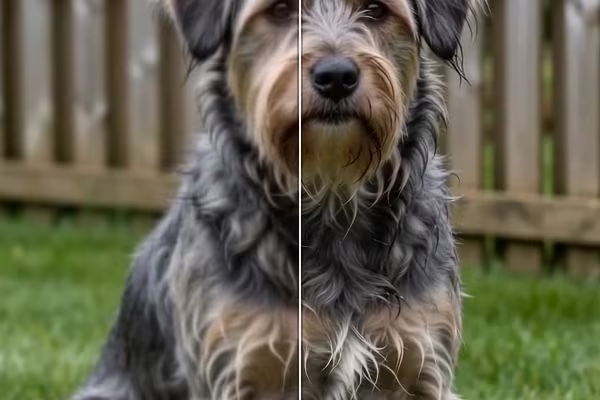
Crisper edges, without the tell-tale halo.
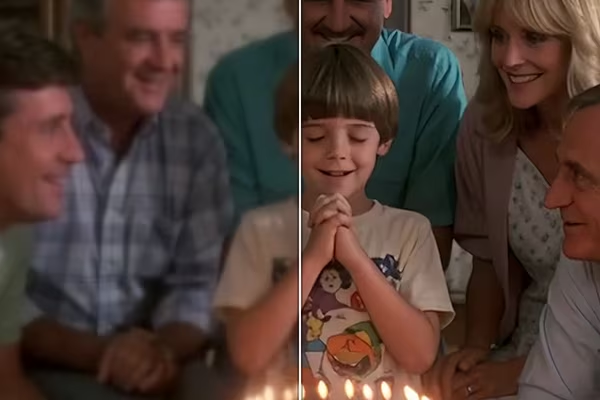
Tightens soft edges, frame by frame.
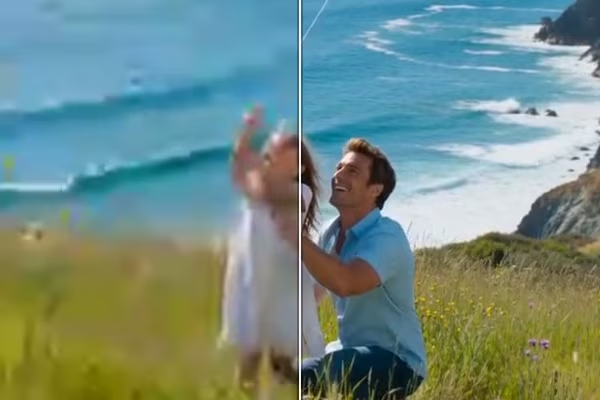
Cleans up compressed, soft footage.
Find the image you have. Each says what to expect and which method to start with.
BeforeAfter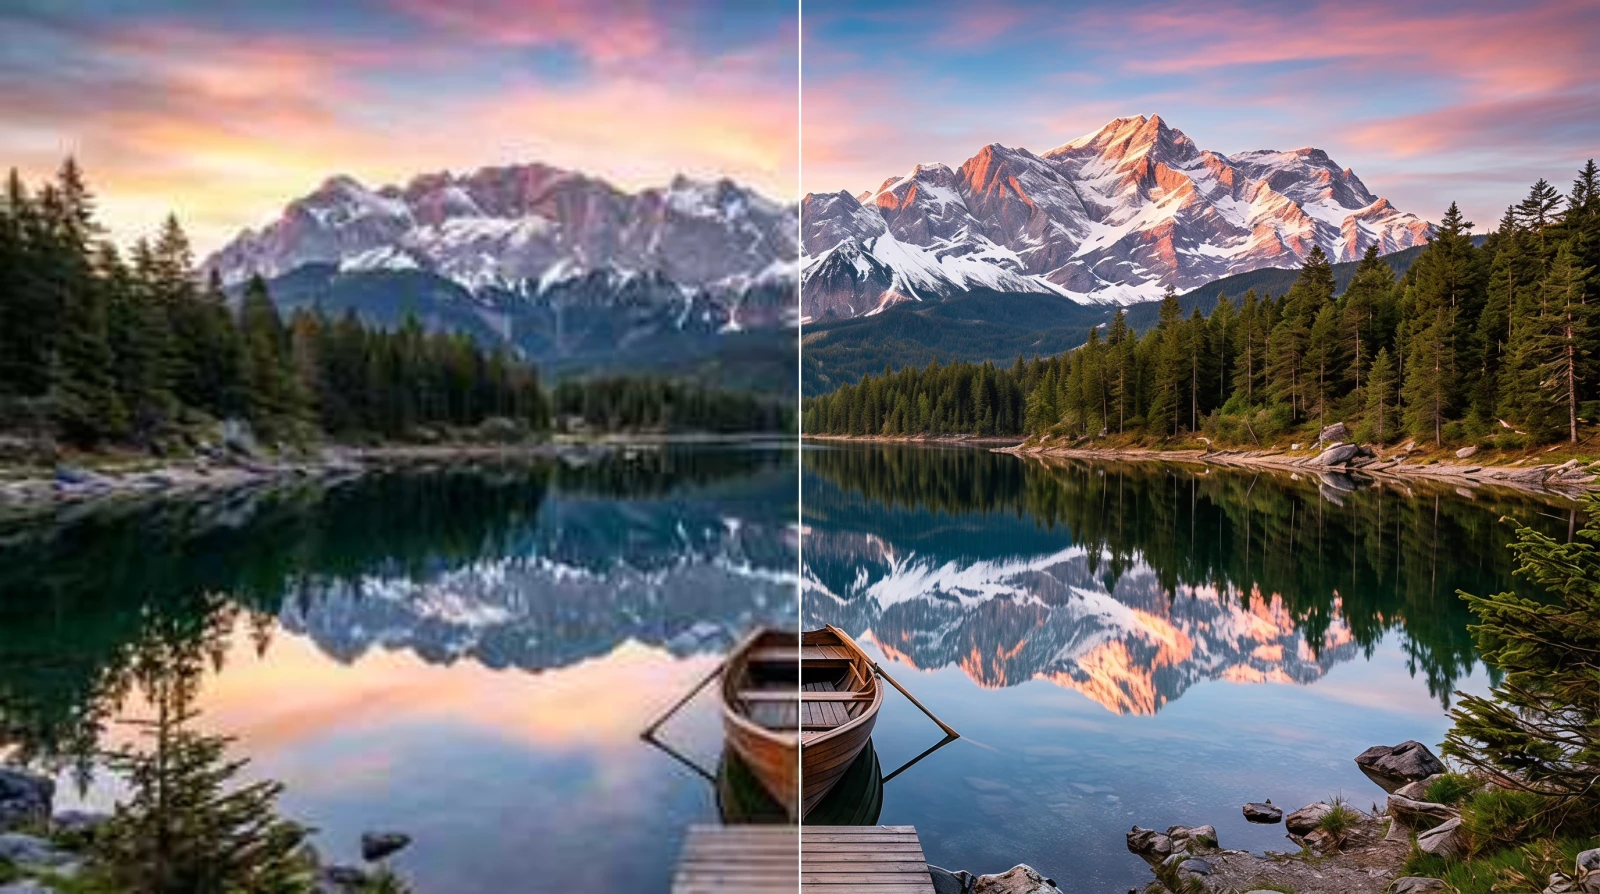 BeforeAfter
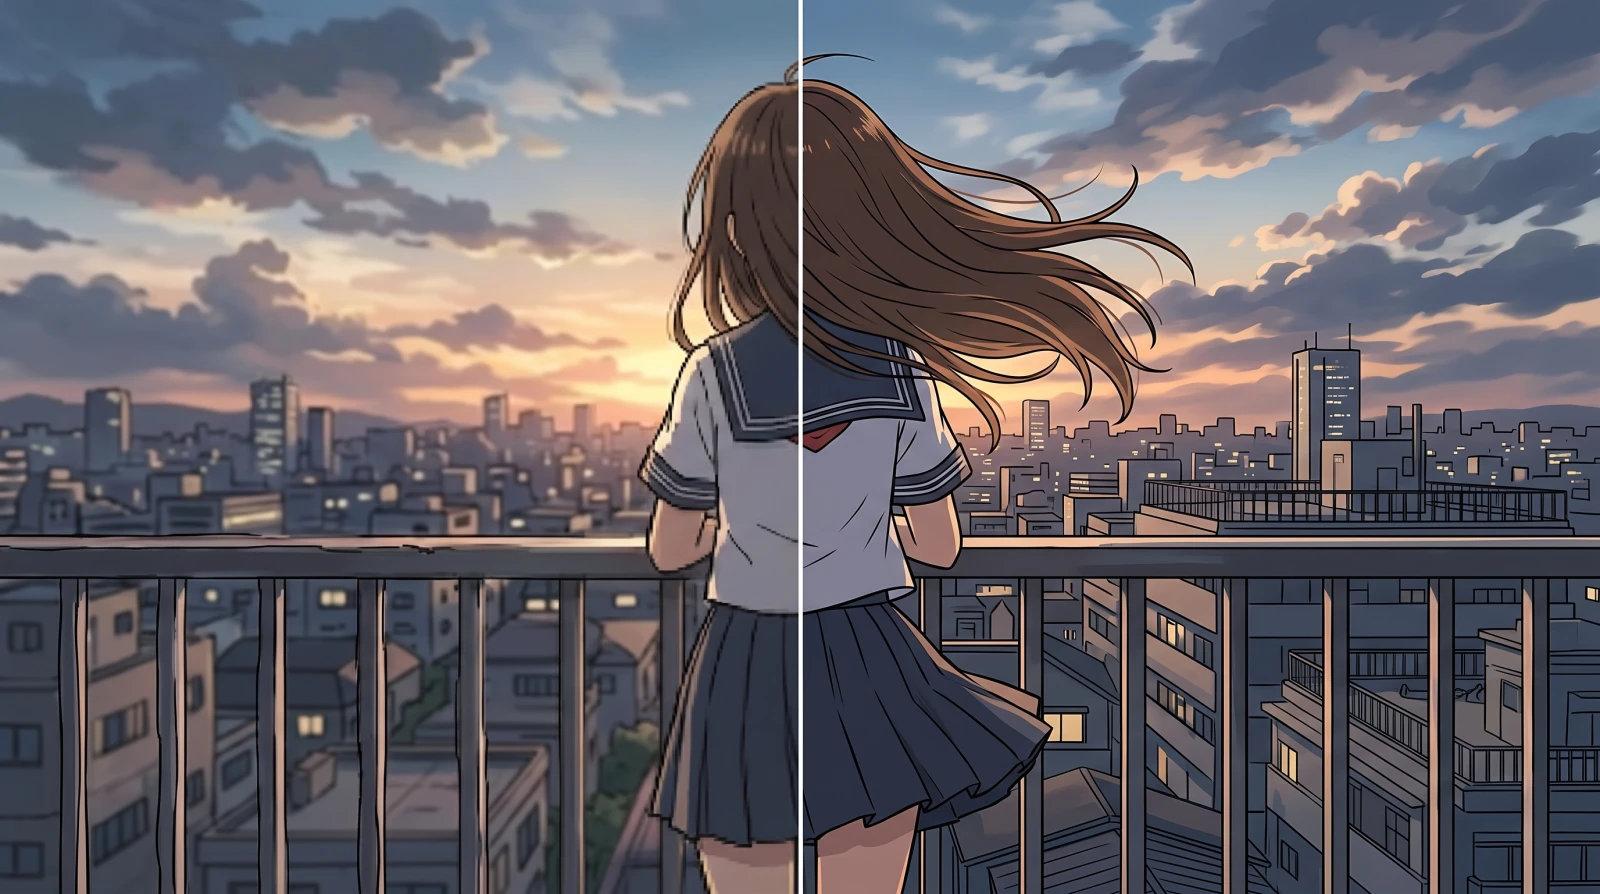 BeforeAfter
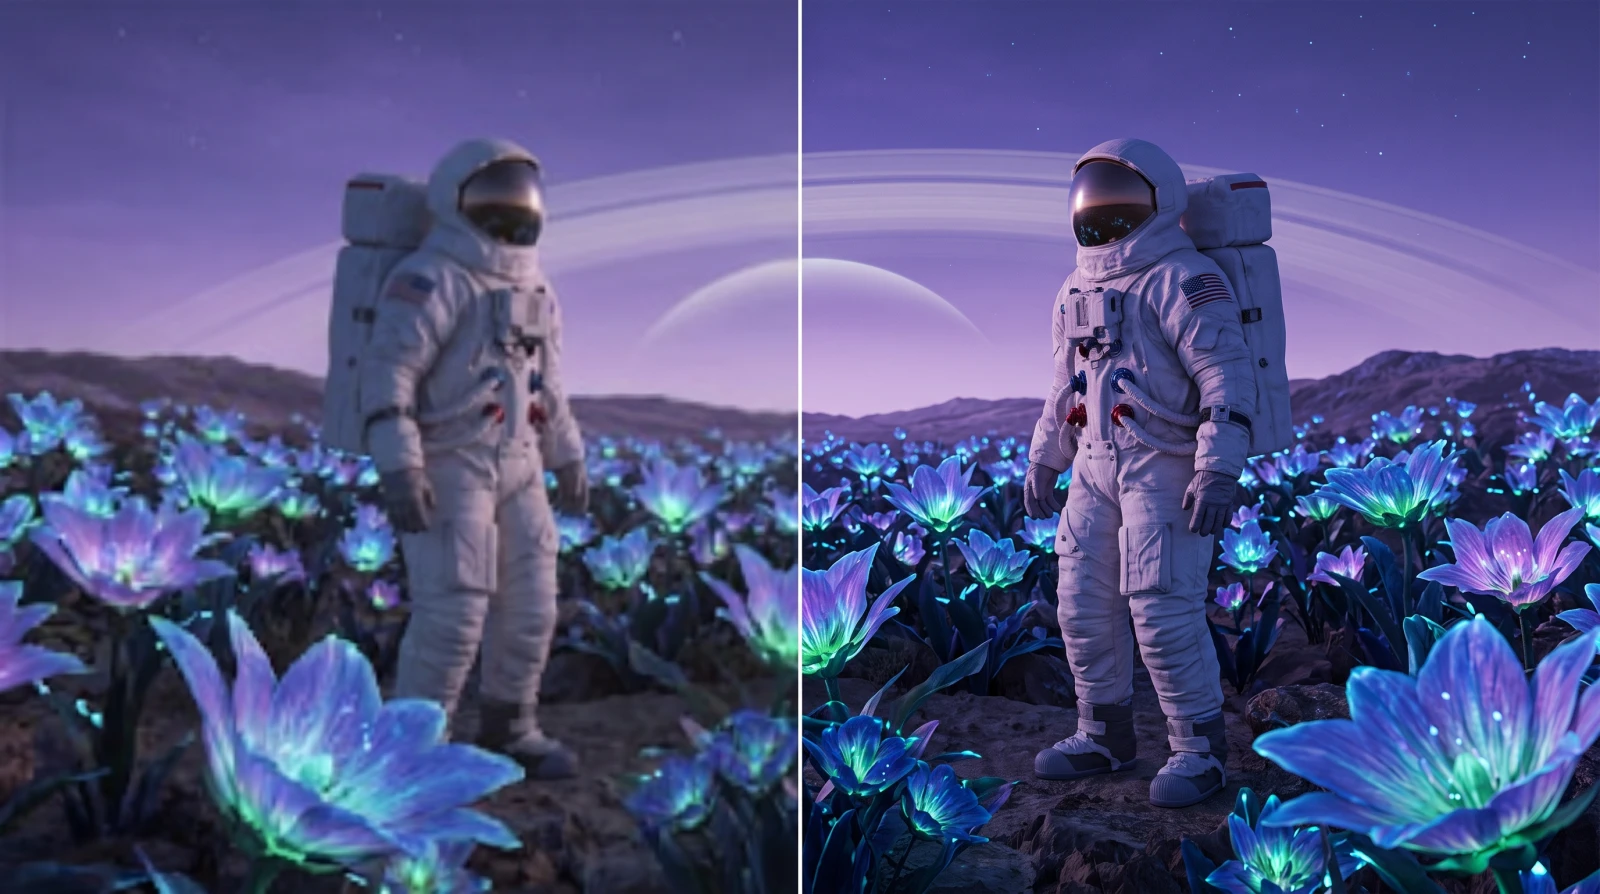 BeforeAfter
These are illustrations of the kind of image, not results of a run. For a real one, drop a file in at the top of the page — the work happens on your own graphics card.
One picture or a dozen. Pick 2× unless you need more; the page tells you when a scale will not fit your device.
Zoom into a flat area — a sky, a wall, a background. Blocky square patches mean JPEG damage, and that is the case to switch methods for. A clean image stays on the default.
Drag the before/after slider over fine detail rather than a flat area. Then download. No watermark, no sign-up, no limit on how often.
All of these run on your own graphics card. Pick by whether the image was compressed: on compressed illustrations at 2× the default lost ten times out of ten, and at 4× the winner changes too.
| Method | Best for | Scale | Speed |
|---|---|---|---|
| Balanced (default) | A clean image at 2× | 2×, 3×, 4× | Instant |
| Unpixelate (Trained) | An image that has been through heavy JPEG, at 2× | 2× | About a second |
| Anime 4× | A clean image at 4×, photo or drawing | 4× | Under a second |
| Photo (Grainy Source) | A compressed photo at 4× | 4× | Under a second |
| Anime (Maximum) | A compressed illustration or AI image at 4× | 4× | Under a second |
Speeds are for a one-megapixel image on a laptop GPU. The trained methods download once, then stay cached; the default needs no download at all.
These upload the image and run on our servers for credits, one of them from Topaz Labs. Precision models enlarge the pixels you have; generative ones draw detail that was never recorded.
| Model | Type | Best for | Per image |
|---|---|---|---|
| AI Crisp | Precision | Sharper and cleaner, with nothing invented | 1 credit |
| AI Restore | Generative | Cleans and enlarges in one pass | 1 credit |
| Topaz Standard | Precision | Denoises, removes compression and enlarges in one pass | 6 credits |
Billed once per image rather than by the pixel, so the figure on the Run button is the whole price before anything is sent. Credits are spent per run — no subscription — and the result is kept for 30 days unless you delete it.
Rebuild it rather than stretch it. Stretching copies pixels and smears edges; a reconstruction filter or a trained network works out what belongs between the original pixels, so the image holds up at the new size. FreeUpscaler does this on your own graphics card — free, with no account and no watermark.
Then pick the method by whether the image was compressed. A clean image keeps the default; one that has been through heavy JPEG needs a trained method, or the block damage is enlarged along with everything else.
Upscaling cannot recover detail that was never captured. The best method we measured reached 85% of the original's edge contrast, so the page promises a cleaner, larger image — not the original back.
A local method rebuilds from your own pixels. A face at 40 pixels stays a face at 40 pixels' worth of information, drawn larger. The generative cloud models do draw new detail — convincing, but guessed.
Enlarging a soft photo gives you a larger soft photo. The Unblur an Image page keeps the size and narrows the edges instead; start there if blur is the complaint.
An image that someone already blew up with hard square pixels needs those removed first. The Fix a Pixelated Photo page is built for that, and does the enlarging in the same pass.
A printer reads the DPI written in the file as well as its size. The Change Image DPI page rebuilds the pixels and writes a real 300 DPI into the file; this page leaves that to it.
Drop the image onto the box above, pick 2× or 4×, and download the result. It is decoded in your browser, rebuilt on your own graphics card and handed back — no account, no watermark and no limit. The default needs nothing downloaded and takes about a tenth of a second for a one-megapixel image.
The local methods are. The work runs on your own hardware, so there is nothing for us to meter: no credit counter, no watermark, no cap on how many images you put through. The cloud models are the exception — they cost credits, and each says so on its own row.
Not the free methods. The image is decoded and processed inside your browser tab, and you can verify it: load this page, disconnect from the internet, and upscale an image anyway. A cloud model is the exception and says so before it runs — it uploads the image for that job, and the result is kept for 30 days unless you delete it.
In this category free usually comes with a condition attached: a daily cap, a watermark, a size limit, a sign-up wall before the download. Here the conditions are technical rather than commercial — a browser with WebGPU. Within that, the right method depends on whether your image was compressed, not on how much you want to enlarge it.
It depends which of two jobs you want done. A precision model enlarges faithfully and invents nothing, which suits artwork, text and anything you need to stay true to the original. A generative model draws detail that was never there, which suits a small, damaged photo when a convincing result matters more than a faithful one.
Use the smallest scale that reaches the size you need. 4× is a much harder job than 2×, and the method that wins changes with it — on a compressed image, the 2× winner and the 4× winner are different networks. If 2× is enough, stop there.
Yes, as a real 3840-pixel-wide file. From 1920 pixels that is 2×; from 960 it is 4×. The detail is rebuilt rather than recovered: a 4K image made from a 960-pixel source still holds 960 pixels of information, drawn cleanly at four times the size.
Probably not the best one. If the photo is compressed, grainy or has come through a messaging app, the photo-quality page leads with the methods for that. If it is blurry, the unblur page keeps your dimensions and narrows the soft edges instead. Come back here when the problem is simply size.
PNG, JPEG and WebP all open. Output is always PNG, because re-encoding a freshly rebuilt image as JPEG would give back some of what you just gained — and on this page's own measurements, JPEG damage is the thing that most changes which method wins.
Credits pay for the cloud models, because those runs cost real money to perform. Signing in is the wallet for them and nothing else — the local methods never ask, and nothing about them is gated. A new account starts with 3 free credits, enough to put an image through the cheapest cloud model and see what it does.