Make a blurry picture clear on your own graphics card — free, unlimited, no sign-up, nothing uploaded. If the free method is not enough, send it to a cloud AI model.
BeforeAfter
No sign-up · no watermark · unlimited · runs on your device
Drop images here
Checking what this device can do…
Which one is yours?
Which kind of blurry photo do you have?
Find the picture you have. Blur that destroyed information is a different question, and it has its own block further down.
Make a blurry picture clear when it is simply soft
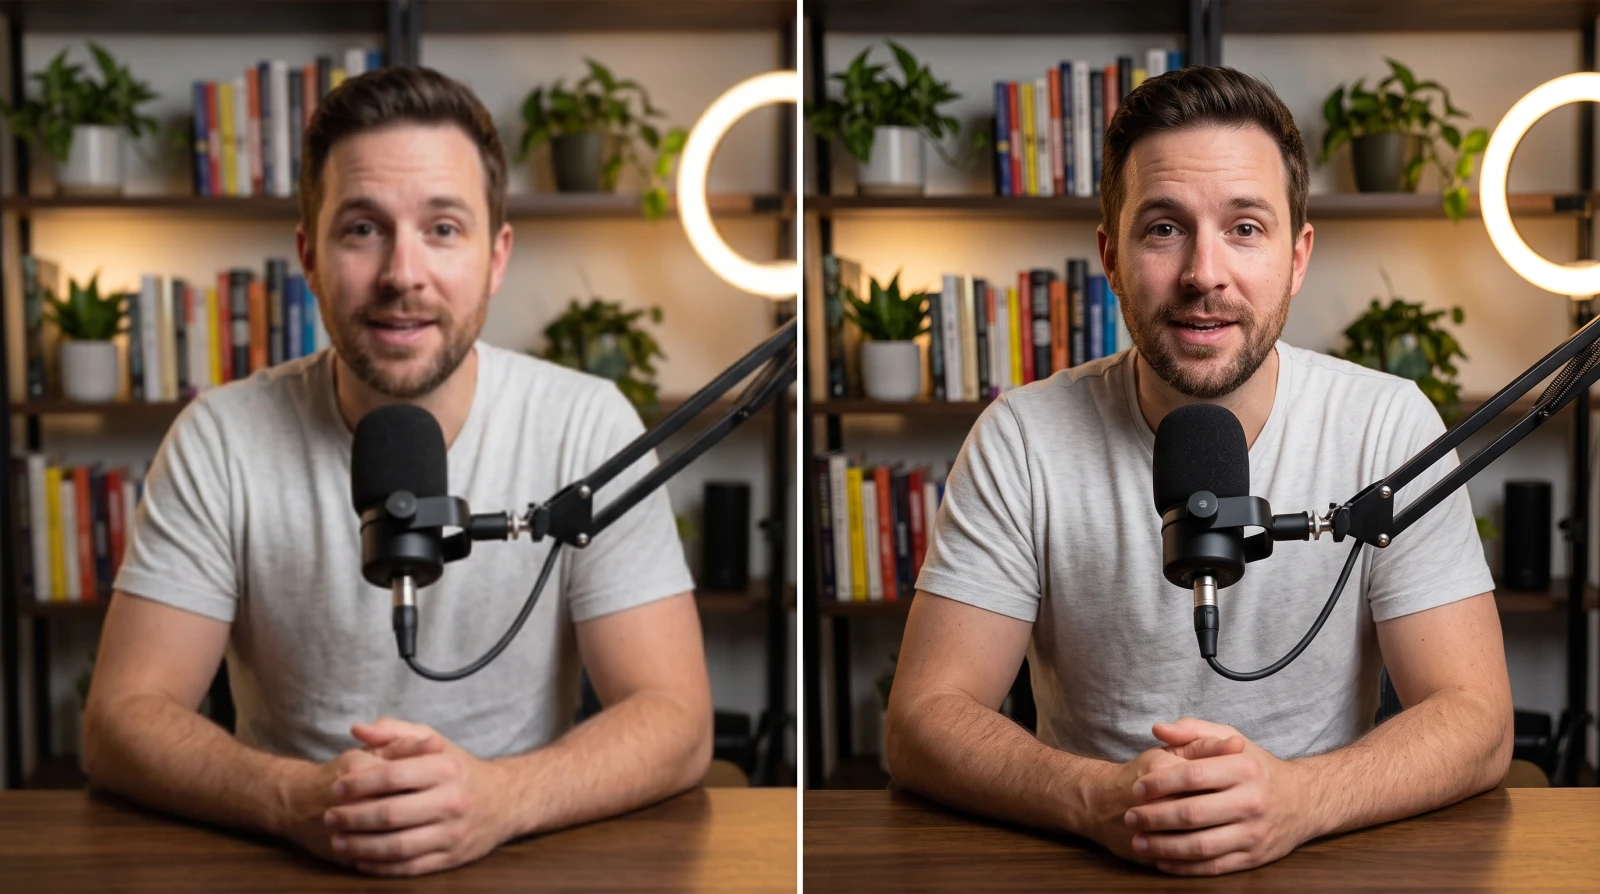
Focus roughly right, just not crisp — an unremarkable lens, a conservative camera profile, or one compression too many. This is the case the whole measurement was run on, and the one the published figure describes.
BeforeAfter
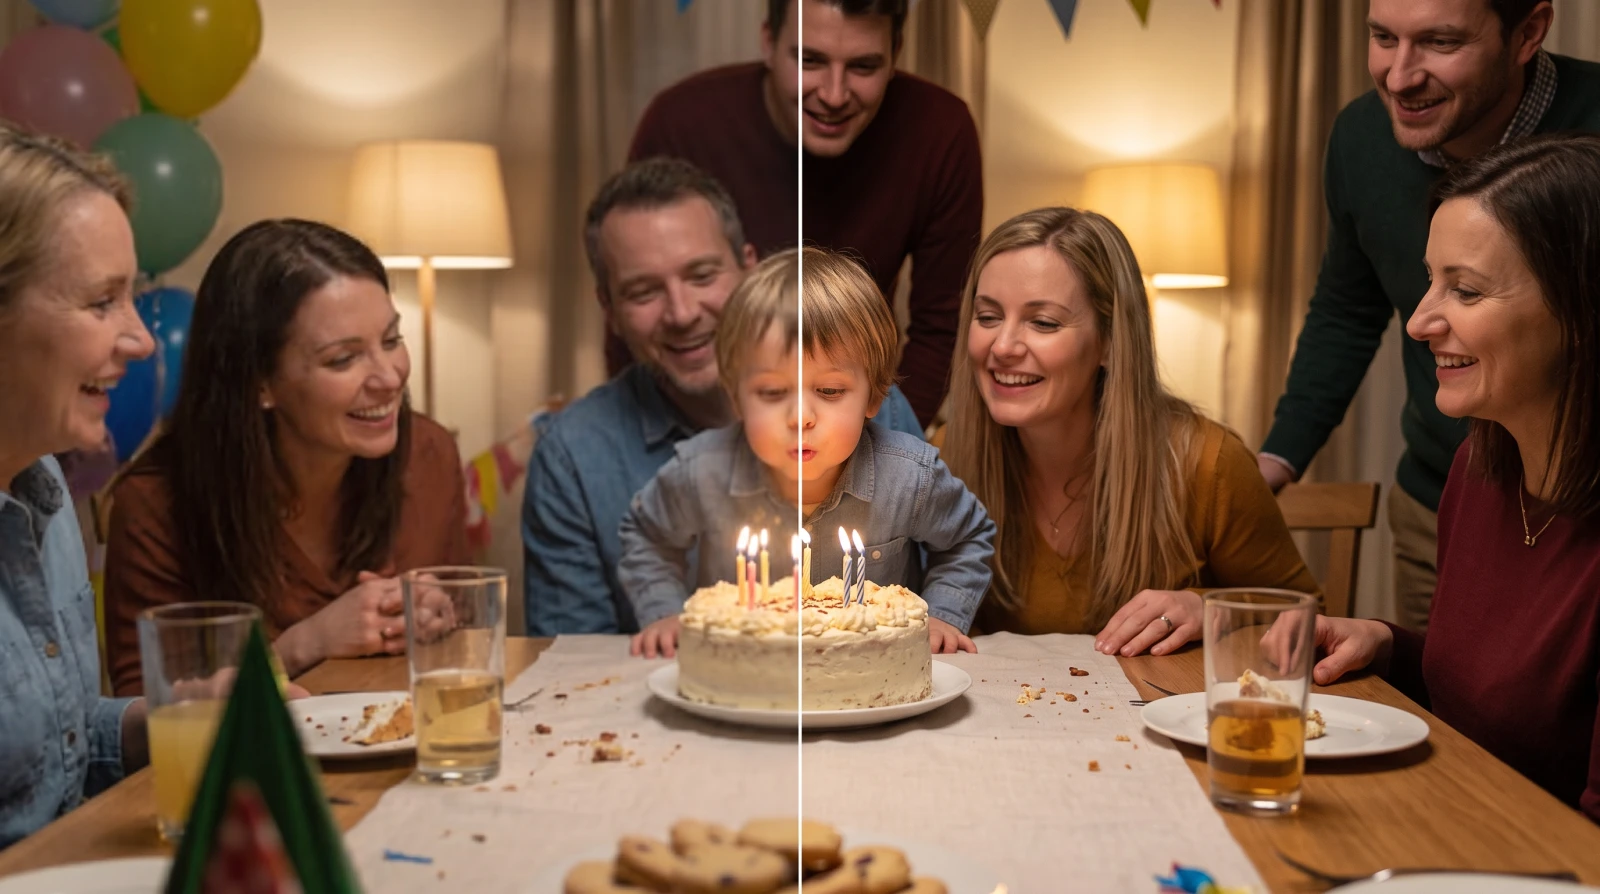
Make a blurry group photo clearer
Group shots recovered the most of anything in the run — up to 23% of the lost definition on one of them. Faces at a distance, printed lettering and fabric give an edge-narrowing filter plenty to act on.
BeforeAfter
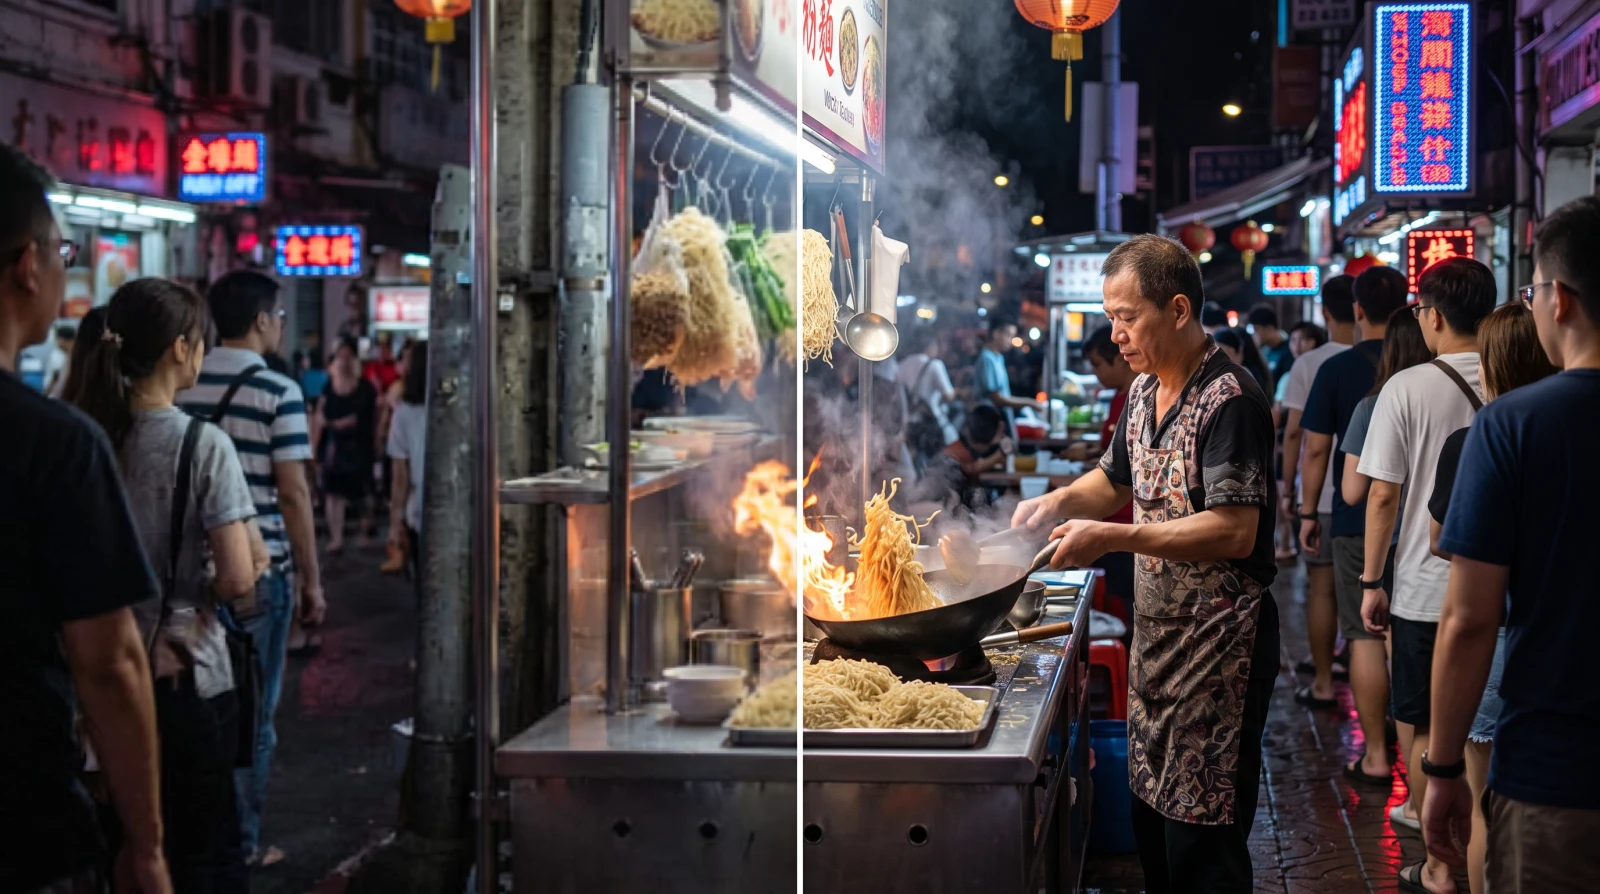
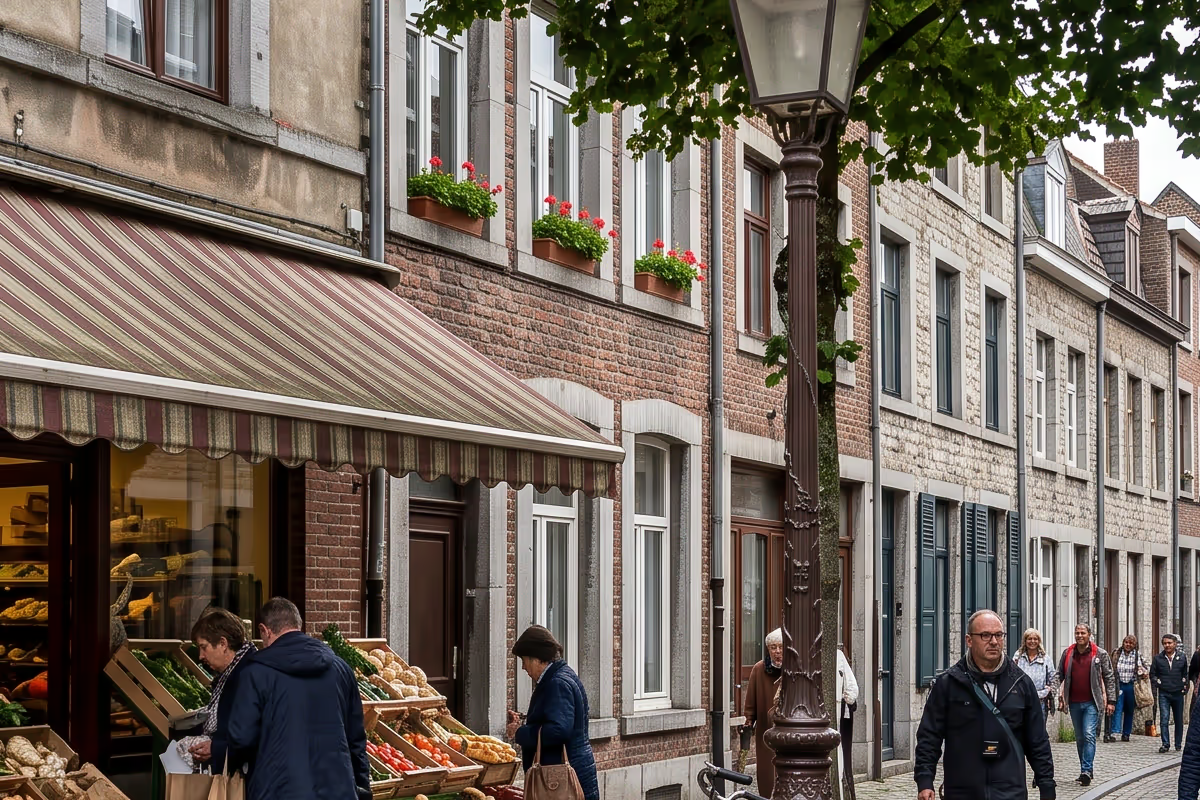
Unblur a street or travel photo
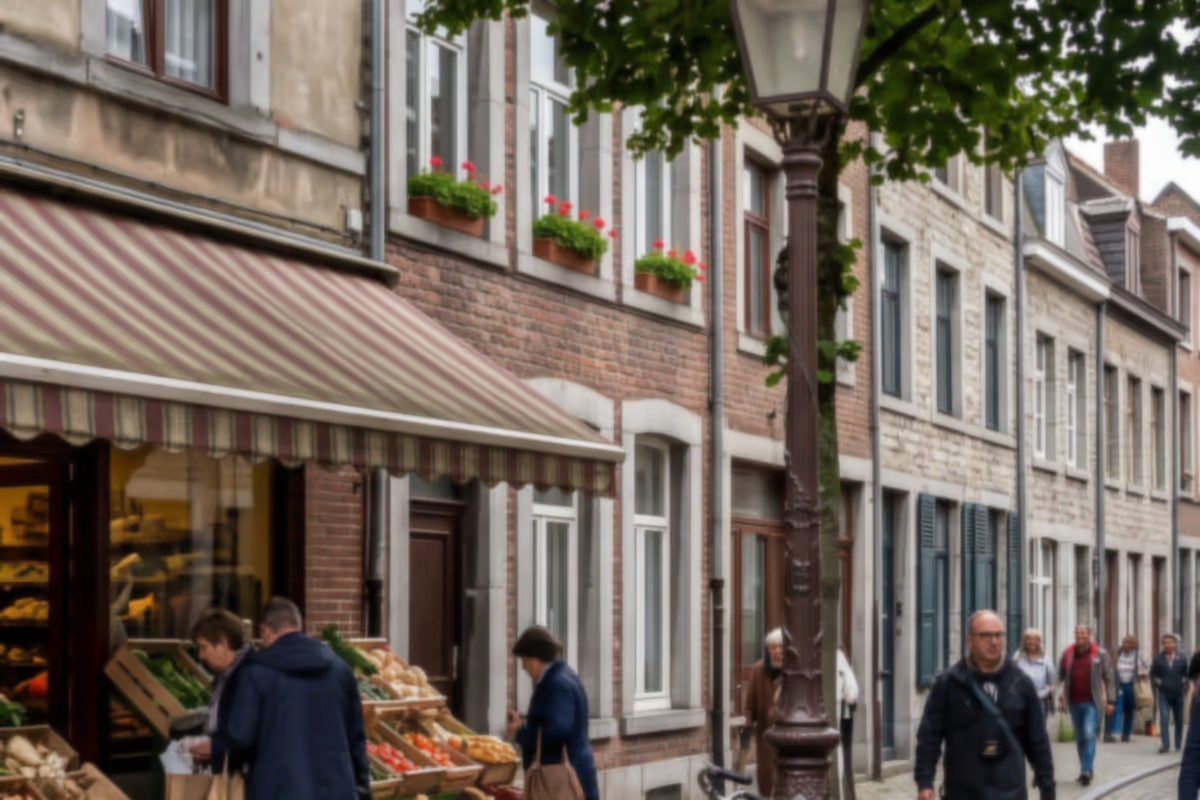
Signage, brickwork, spokes, foliage. Dense real edges at photograph scale are exactly what this method narrows, which is why street frames sit near the top of the range too.
BeforeAfter
How to use it
How to make a blurry picture clear in three steps
Step 1
Drop your photos in
One picture or a dozen. The page checks what your device can handle before you choose a file, so you learn about limits up front rather than half-way through.
Step 2
Judge it on real detail
Drag the before/after slider over eyelashes, fabric, lettering or foliage — not over a flat wall, where by definition nothing changes. If the after side looks brittle rather than defined, turn the Deblur dial down to Light and let it re-run.
Step 3
Download it
No watermark, no sign-up, no cap. The output is a PNG at the dimensions you supplied, so it drops straight back into wherever the original came from.
The measurement
How much sharpness an unblur tool actually wins back
Fifteen photographs, each softened by a known amount. The default brought back 14.3% of the edge definition the blur removed — between 7% and 23%, and ahead of leaving the picture alone on all fifteen.
As it arrived · soft — edge gradient 23.2
Fixed · default setting — 25.5
The original · what the blur removed — 36.6
Lettering and the knit of the scarf separate again in the middle pane. Look at how far it still is from the right one — that distance is the part no “unblur” tool puts in its own before/after.
The other half of the run was a control group — the same photographs with no blur at all. There the default pushed edge contrast 14% past the original’s.
Not blurred, untouched · the control — 34.8
Same picture, default applied · 42.1 — past the original's own 36.6
No blur applied, before and after the default. That dark outline around the lettering is not detail coming back — it is contrast added where the picture already had the right amount.
On your device
How to unblur an image without AI, and which setting to pick
One dial, three steps, measured against the photograph the blur was applied to.
Deblur setting
Recovered on a soft photo◆
Distance from the original
Overshoot when nothing was wrong
Light
8.2%
34.71 dB
+5.6%
Medium — the default
14.3%
31.21 dB
+14.0%
Strong
20.3%
29.53 dB
+20.5%
Three steps and no fourth — the engine caps the pass at three, so Strong is the ceiling of the method rather than the top of an arbitrary scale. A trained restoration network also qualifies for this job and is not offered: over the same fifteen photographs it recovered a median of 1.0%, six of them negative. It is trained on animation, and soft photographic edges are not the drawn lines it learned. It does appear on the unblur video page, where it measured 13.4%.
In the cloud
When the blur is heavier: AI models that unblur an image in the cloud
Blur that destroyed the information — motion, a badly missed focus — is past what any filter reaches. That is this tier's limit rather than photography's: a generative model draws a plausible version instead. These upload the image and run on our servers for credits.
Model
Type
Best for
Per photo
AI Restore
Generative
Cleans and enlarges in one pass
1 credit
Topaz Standard
Precision
Denoises, removes compression and enlarges in one pass
6 credits
Billed once per photo rather than by the pixel, so the figure on the Run button is the whole price before anything is sent. Credits are spent per run — no subscription — and the result is kept for 30 days unless you delete it.
How do you fix a blurry picture for free?
Drop the photo into a browser tool that processes it locally. FreeUpscaler decodes it in the tab, runs a shock filter that narrows every soft edge on your own graphics card, and hands the picture back at its original size — no upload, no account and no watermark.
It recovers part of the definition, not all of it: 14.3% of what the blur removed, measured on fifteen photographs. Whether it helps at all depends on which kind of blur you have, which is the block below — and when the answer there is no, a cloud model is the only tier with anything left to offer.
Softened edges can be steepened. Motion blur smeared each point of the scene across pixels while the shutter was open — that is absence, not weakness.
Set expectations
Work out why it is blurry first — it decides whether anything helps
Six common causes with very different prognoses. Telling them apart takes about ten seconds and saves you a download.
The same point of light under each kind of degradation. The first two lose only sampling or fine structure. The last two spread it across neighbouring pixels irreversibly.
Improves a lot
Genuine softness at the right size
A lens that is not especially sharp, focus a little off, a conservative camera profile, or a copy that has been through one compression too many. This is the case the page exists for, and the case the 14.3% figure was measured on. Pictures with real edges in them sit at the top of that range.
Improves a lot
Low resolution
Sharp but small — a messaging-app copy, a thumbnail, an old phone picture. All the captured detail is present, it just has too few pixels to show it. The right tool is not this page: rebuilding at a larger size is what recovers apparent detail, on the photo-enhancing page.
Improves some
A photograph that was not really blurry
It will still change, and not for the better: on unblurred controls the default pushed edge contrast 14% past the original's own. Turn the Deblur dial down to Light, which stays within 6%, or leave the picture alone.
Improves some
Deliberate shallow depth of field
A portrait or food shot where the background is meant to be soft. There is nothing wrong with the photo and very little for the filter to act on — the lowest result in the whole run, 6.7%, was exactly this. Sharpening it mostly sharpens the grain in the blurred area.
Cannot be fixed
Motion blur
The camera or the subject moved while the shutter was open, so every point of the scene was smeared along a line across many pixels. If a stationary part of the frame is sharp and only the moving part is smeared, that is the one. No filter puts it back, here or anywhere — a generative cloud model will draw a plausible version instead, which is worth knowing is not the same as recovering it.
Cannot be fixed
Badly missed focus
The lens was focused somewhere else entirely. Each point became a disc rather than a point, and discs from neighbouring points overlap, so the original values cannot be separated out again by any filter. The cloud tier can generate a sharp picture from it; what it hands back is a plausible photograph rather than the one you took.
On a phone
Why do iPhone photos come out blurry?
Usually the answer is worth more than the tool is: most blurry phone pictures are motion-blurred, and three of the four causes below are only fixable at the source.
A smudged lens. The single most common cause, and the least suspected. Pocket lint and fingerprints scatter light across the whole frame, which softens everything evenly. Wipe the lens and take the shot again — the difference is larger than anything on this page can produce.
Low light. In dim conditions the camera holds the shutter open longer, so ordinary hand movement smears the picture. This is motion blur, and it is the case marked “no” above. Brace the phone against something solid, or add light.
Focus on the wrong subject. The phone chose a face in the background, or the railing in front. Tap the subject on screen before shooting to lock focus there. If the shot is already taken, this is badly missed focus and it does not come back.
It arrived through a messaging app. WhatsApp, Messenger and similar re-compress and shrink what they carry, so the copy on your phone is a degraded version of a picture that is probably still fine on the sender’s. Ask for the original first. If you cannot get it, this is the case that does improve here — and if the copy is also much smaller, the photo-enhancing page will do more than this one.
The short version: if the photograph is soft, drop it in above. If it was taken handheld in a dark room, retaking it beats every piece of software there is, including this one.
FAQ
Frequently asked questions
How do I unblur an image for free?
Drop the photo onto the box above. It is decoded in your browser, run through a shock filter that narrows every soft edge on your own graphics card, and handed back at its original size — no account, no watermark and no limit on how many you do. A four-megapixel photo takes about a tenth of a second, and nothing has to be downloaded first.
Can you unblur an image without AI?
That is what the free method here is. A shock filter is a formula, not a trained network — it narrows edges the picture already holds, downloads nothing, invents nothing, and runs on your own graphics card in about a tenth of a second. Because it only sharpens what is there, its result is a faithful version of your photograph rather than a plausible one: nothing in the output was made up. That is also its ceiling, and the measured figure below says where the ceiling is.
Can a blurry picture actually be fixed?
Partly, and how much depends entirely on why it is blurry. On fifteen photographs softened by a known amount, the default setting brought back an average of 14.3% of the edge definition the blur removed, and up to 23% on the best of them — a real improvement that is a long way from restoring the original. Motion blur and badly missed focus cannot be recovered by any filter: the light from each point of the scene was physically spread across many pixels at capture time.
Do you upload my photo?
Not the free method. The image is decoded and processed inside your browser tab, and you can verify it in ten seconds: load this page, disconnect from the internet, and fix a photo anyway. A cloud model is the exception and says so before it runs — it uploads the image for that job, and the result is kept for 30 days unless you delete it.
What is the best way to unblur an image?
Work out which kind of blur you have first, because that decides the answer more than the tool does. For a photograph that is merely soft, a filter running on your own machine is the ceiling — it beat leaving the picture alone on all fifteen test photographs, and it costs nothing. For blur that destroyed information, motion and badly missed focus, no filter anywhere recovers it; a generative cloud model draws a plausible version instead, which is a different thing and costs real money.
Will it ruin a photo that was not really blurry?
It will overdo it, which is why the number is published. Run on photographs that had not been blurred at all, the default setting pushed edge contrast 14% past the original's own and moved the pixels measurably further from it. If your picture is only slightly soft, turn the Deblur dial down to Light, which stays within 6%. Deciding whether the picture is actually blurry is the honest first step.
Is there a strength setting?
One, in the options popover, labelled Deblur, with three working steps. Each notch runs the edge-narrowing pass one more time: 8.2%, 14.3% and 20.3% of the lost definition recovered at Light, Medium and Strong, and 6%, 14% and 21% of overshoot on a photo that needed nothing. There is no fourth step — the engine caps the pass at three, so Strong is the ceiling of the method rather than the top of an arbitrary scale.
My iPhone photos come out blurry. Does this fix them?
It helps if the photo is soft, and not at all if it is motion-blurred — and on a phone the second is more common than the first. Most blurry phone pictures have a cause that is fixable at the source: a smudged lens, low light forcing a long exposure, or focus locked onto the wrong thing. There is a section on this further down.
Should I fix the blur, or make the picture bigger?
If the picture looks soft because it is small — a thumbnail, a messaging-app copy — the photo-enhancing page is the right one: rebuilding at a larger size is what recovers apparent detail, and sharpening happens as part of that pass. This page is for a photograph that is already the right size and still looks soft, and it does not change your dimensions at all.
Can it unblur text that was blurred out on purpose?
No, and neither can anything else. A redaction blur is applied after the fact with a radius chosen to destroy the characters underneath — there is no residue left to narrow, so a filter has nothing to work with and a generative model would invent letters rather than read them. Soft text in an ordinary photograph is a different case and the usual one: a sign, a label or a page that the camera merely did not resolve crisply still has its edges, and that is what this page sharpens.
Which format should I use?
PNG, JPEG and WebP all open. Output is always PNG, because re-encoding a freshly sharpened image as JPEG would immediately give back some of the definition you just gained.
What are credits, and why sign in?
Credits pay for the cloud models, because those runs cost real money to perform. Signing in is the wallet for them and nothing else — the local method never asks, and nothing about it is gated. A new account starts with 3 free credits, enough to put a photo through the cheapest cloud model and see what it does.
 BeforeAfter