FreeUpscaler
Resamples, then sets the DPI · nothing uploaded

Change DPI of Image

Most DPI converters only rewrite a number in the file header — the pixels never change, so nothing prints any better. This one adds the pixels first, then writes the DPI.

  • No sign-up
  • No watermark
  • Unlimited
  • Free tools never upload
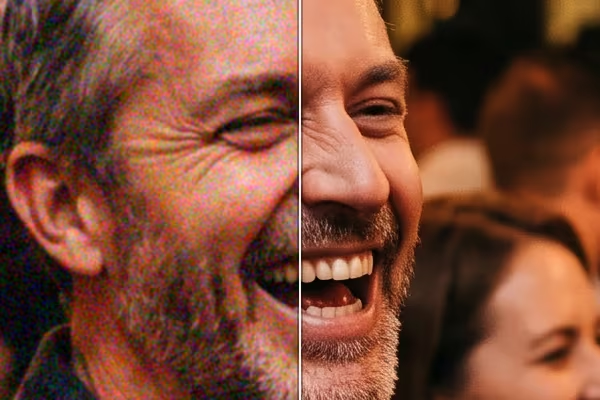
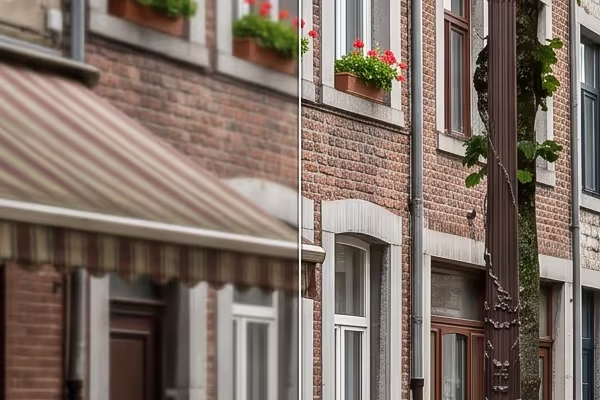
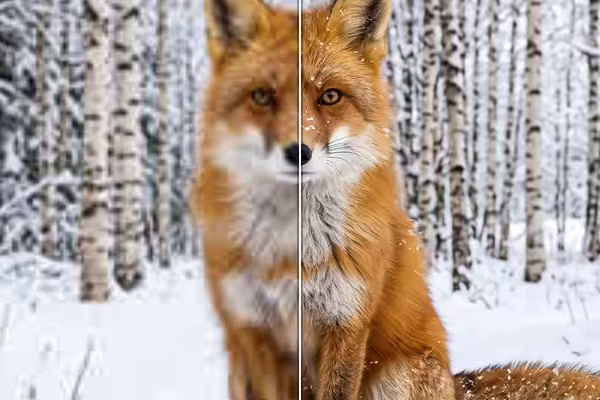
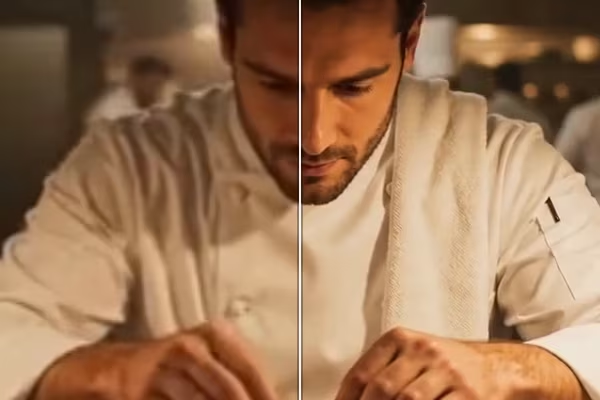
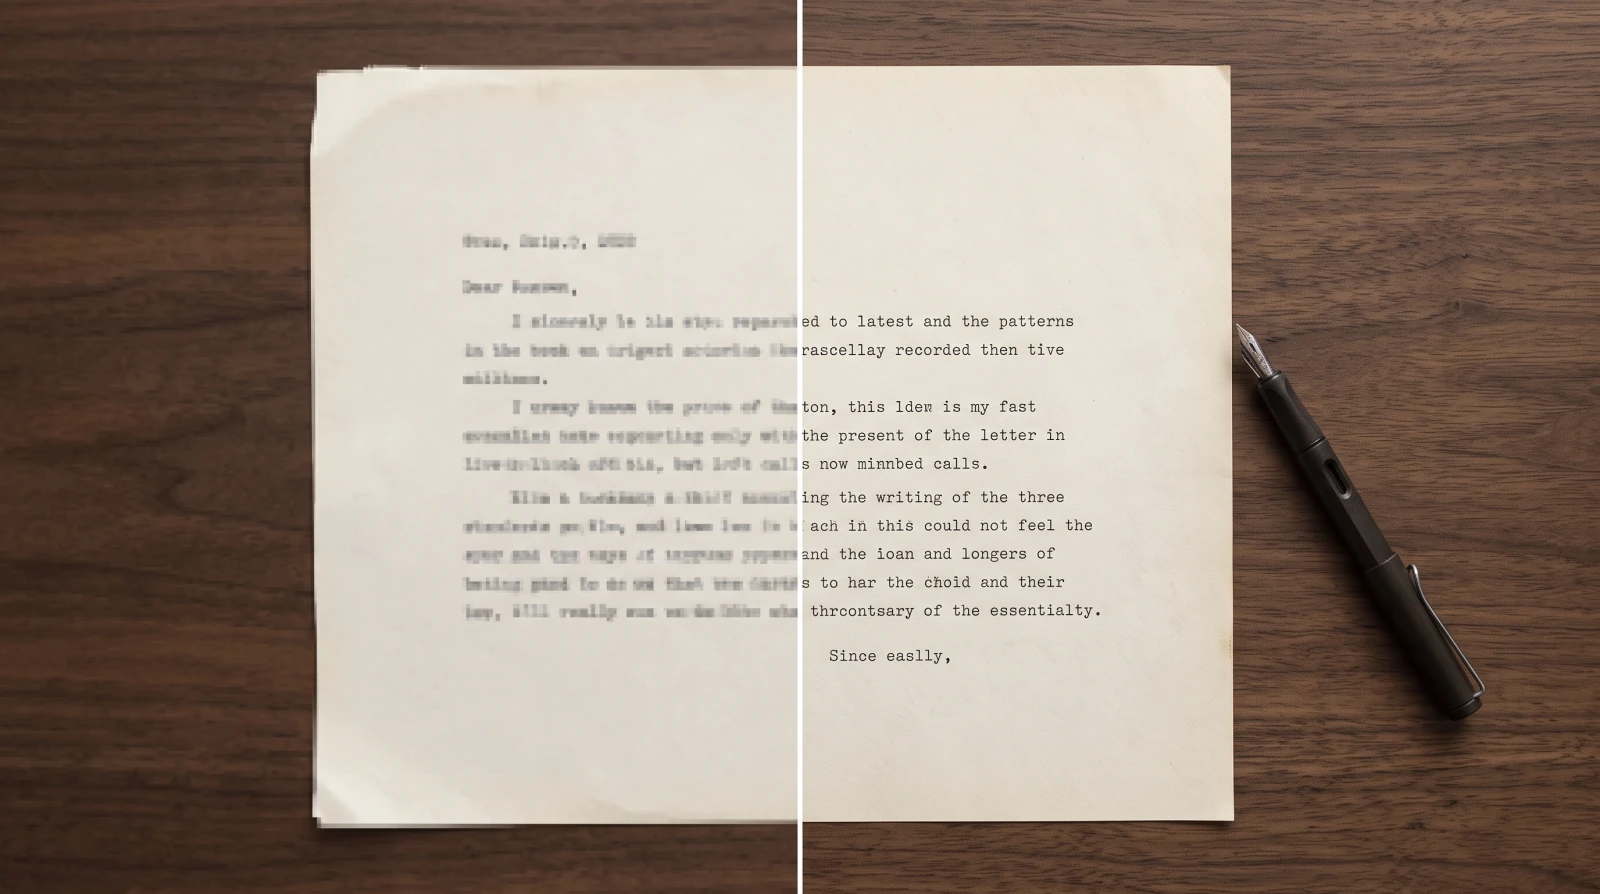
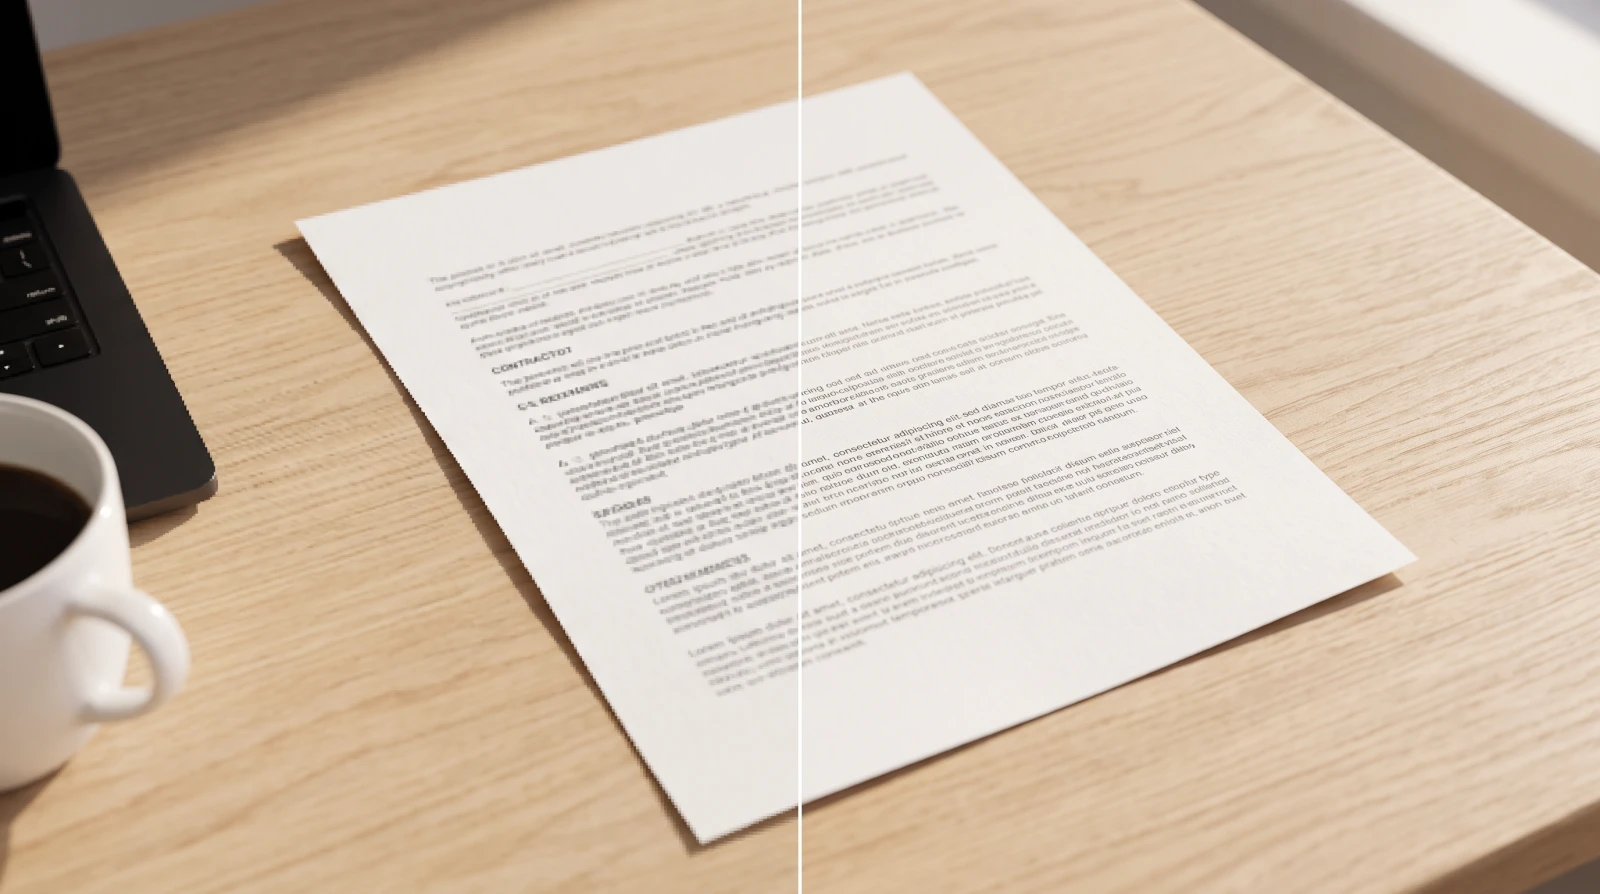
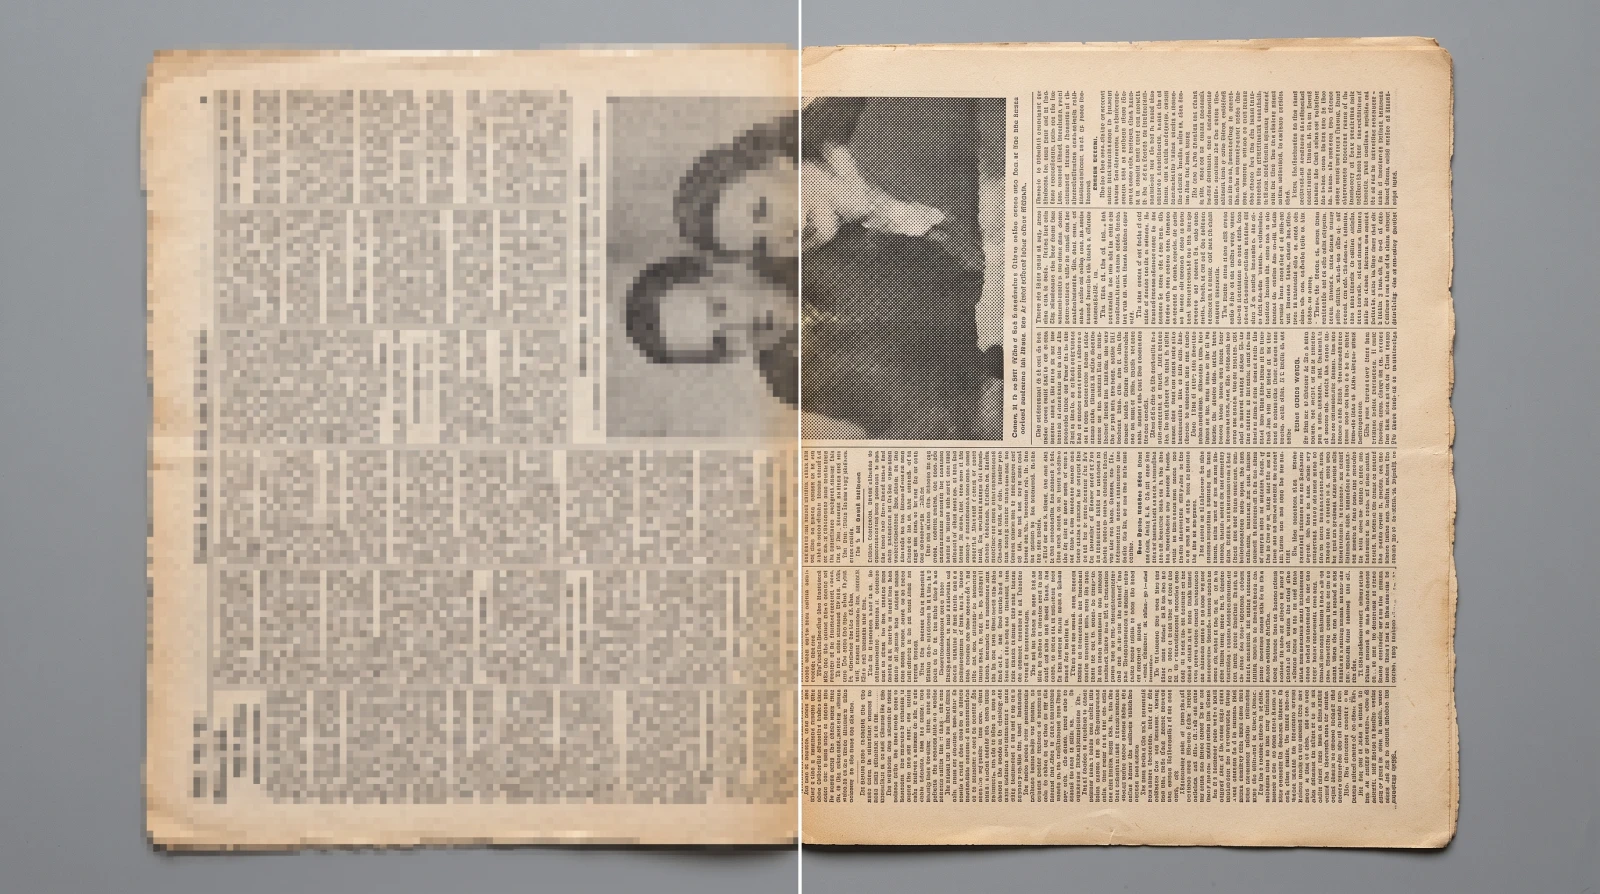
The sample before processing
The same sample untouched, for comparison
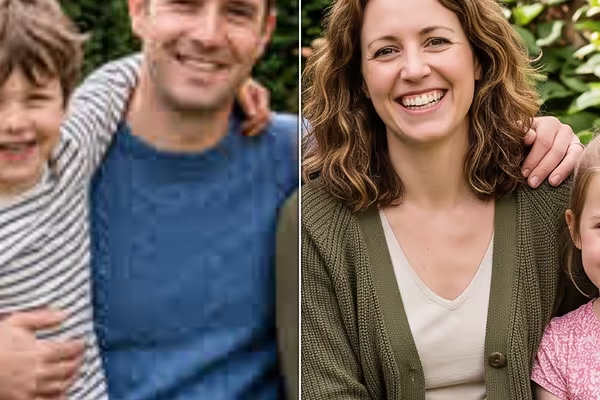
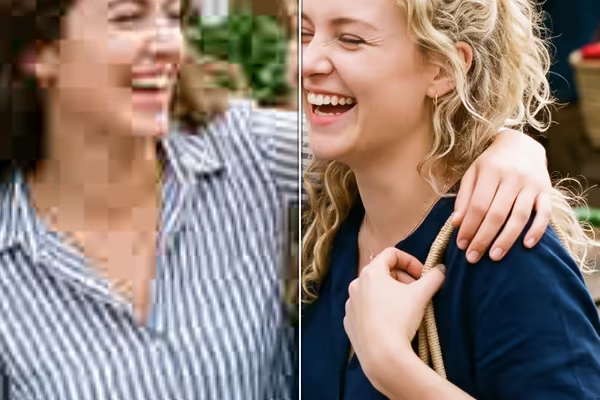
Example · not your fileBeforeAfter

Drop images here

One at a time

Checking what this device can do…PNG, JPEG and WebP in. PNG out, with a real pHYs DPI header set to 300.

How do you change the DPI of an image so it actually prints better?

Two things have to happen, in this order: the image needs more pixels, and then the file needs to declare 300 DPI. Drop a file above and both happen on your own graphics card — the picture is rebuilt at 2×, 3× or 4× its size, and the output PNG carries a real pHYs header saying 300 dots per inch.

Change DPI of image, increase DPI of image, convert image to 300 DPI, make image 300 DPI — the phrasings differ, the job is those same two steps, and almost every tool that offers it does only the second one.

Doing only the second half is what a DPI converter normally means. It takes a fraction of a second, costs nothing to run, and returns a file that prints exactly as it did before. Nothing about it is untrue; it just does not solve the problem people arrive with.

No account, no watermark, no export limit, and the file never leaves your device.

The catch, explained

Why does a 300 DPI converter usually change nothing?

Because DPI is not a property of the picture. It is one number in the file header, and rewriting it is a nine-byte edit.

DPI — dots per inch — is not a property of an image the way width and height are. It is a single field that says: when you print this, put this many pixels in each inch. An image 1200 pixels wide prints 4 inches wide if the header says 300, and about 16.7 inches wide if it says 72. Same pixels either way.

In a PNG that field lives in a chunk called pHYs: two 32-bit numbers and a unit flag, nine bytes in total, sitting between the header and the image data. Changing an image to 300 DPI means writing 11,811 into both of them — that is 300 × 39.37, because the unit is pixels per metre. That is the entire operation. A tool can do it without ever decoding the picture.

Which is exactly what the tools ranking for this search do, and the one ranked first says so on its own page rather than hiding it: “The DPI (dots per inch) of an image is simply metadata embedded inside the image (header). The actual quality (resolution) of the image (within the file itself) is not affected when its DPI value is adjusted.” Its script patches the same nine bytes we do and builds its working canvas at the source’s own width, so no pixel is ever resampled. That is an accurate description of a metadata edit. It is not what somebody whose print shop rejected a file is looking for.

One thing worth being fair about, since it is easy to assume otherwise: several of those tools also run entirely in your browser and never upload anything. The difference between them and this page is not where the work happens. It is whether any work happens to the pixels at all.

This page

resample, then declare
  • Rebuilds the image at 2×, 3× or 4× on your GPU
  • Writes a real pHYs header afterwards
  • A 300 DPI A4 file genuinely holds 300 dots per inch
  • Nothing uploaded, no account, no watermark
  • Takes a moment — the pixels are actually computed
  • Needs a desktop browser with WebGPU

Metadata-only converters

the usual free DPI tool
  • Pixel count is unchanged
  • Rewrites the pHYs or JFIF field only
  • A 300 DPI file prints smaller, not sharper
  • Some are local too — privacy is not the difference
  • Instant, because nothing is computed
  • Works anywhere, including phones
See it at print size

What do you get when you increase image DPI properly?

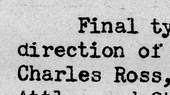
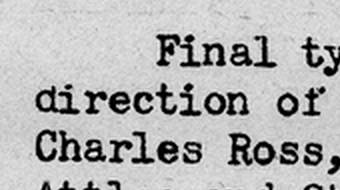
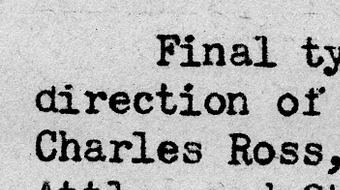
The same piece of a 1945 typed report, shown at 100%. A crop shrunk to fit a page looks identical whatever produced it, so these are native pixels.

Metadata only — a 100% crop of the same frame

Metadata only · 1200 × 1904 · the pixels you started with

This page, 2× — a 100% crop of the same frame

This page, 2× · 2400 × 3808 · 34.4 dB from the original

A real 2400 px scan — a 100% crop of the same frame

A real 2400 px scan · the master this test was built from

All three panes cover the same area of paper. The left one is physically half the size because it holds a quarter of the pixels — declare it 300 DPI and it prints half as wide, or prints at the size you wanted with 150 real dots per inch. The middle pane is what this page returns. The right pane is the ceiling: detail that was never captured is not coming back, and the gap between the middle and the right is exactly that honest shortfall. Public domain, US National Archives; both processed panes came out of the evaluation run described below.
Which method

Is your scan crisp or soft? That decides everything.

We ran every method twice over the same fourteen documents — once on crisp scans, once on the same scans softened by a blur pass. The rankings invert. There is no single best method here, and pretending otherwise would cost you up to 2.5 dB.

MethodPick it whenCrisp scansSoft scansCost
Balanced (default)You are not sure, or the source already looks sharpBest free optionSecond-best free optionNo download · 65 ms
Restore & Enlarge (2×)The scan looks soft before you enlarge it9th of 11 — do not use it here1st on 7 of 10 — and ahead of the default on all 10924 KB · 130 ms
Unpixelate (Trained)Screen captures, or anything heavily compressedTop two, wins 5 of 10Top two, beats the default 10–04.9 MB · 851 ms
Photo (Grainy Source)You need four times the size in one stepMiddle of the 4× fieldBest of the 4× field5.9 MB · 514 ms
Balanced, on a soft scan — a 100% crop of the same frame

Balanced, on a soft scan · no download · 30.6 dB

Restore & Enlarge (2×) — a 100% crop of the same frame

Restore & Enlarge (2×) · 924 KB · 33.0 dB

The original scan — a 100% crop of the same frame

The original scan · 1920 px master

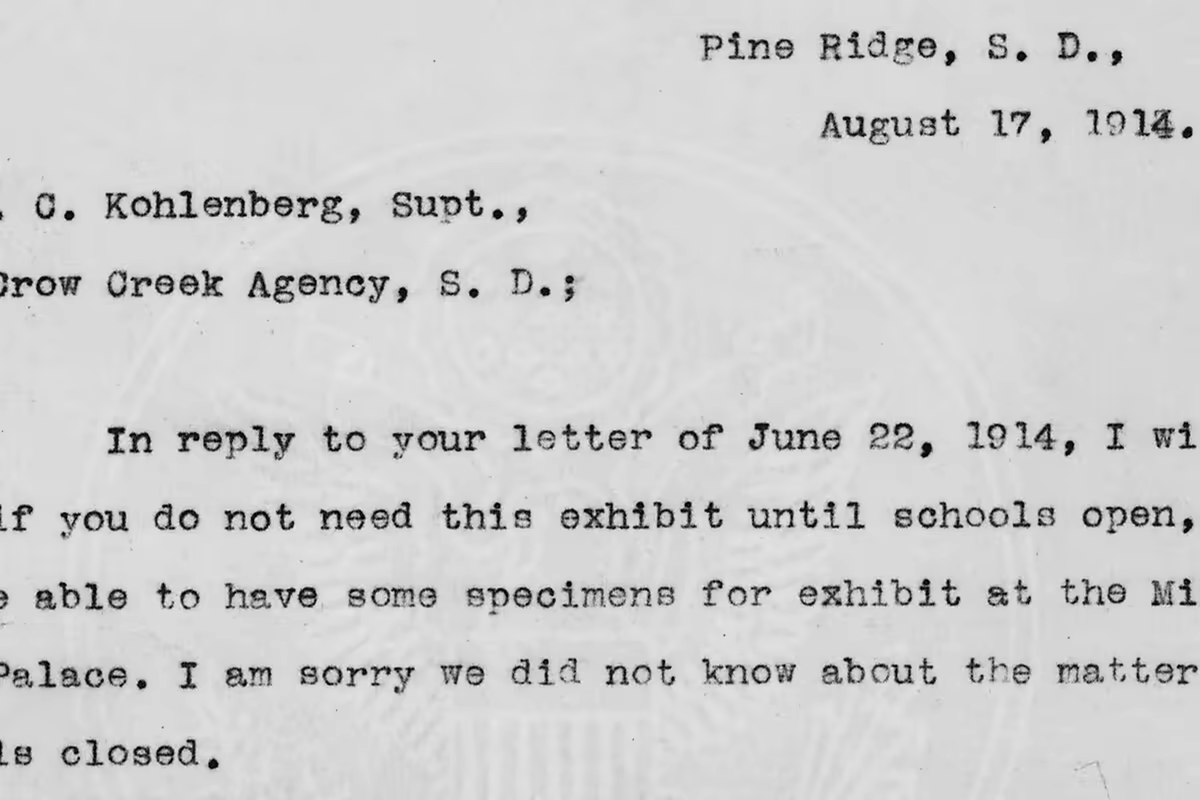
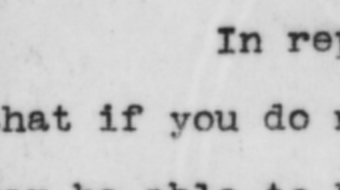
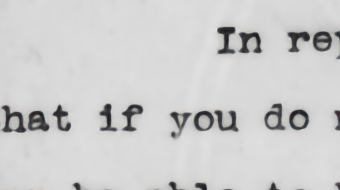
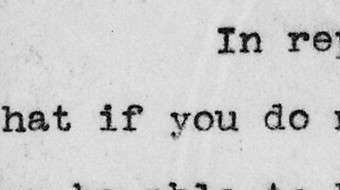
A 1914 typed letter, softened and then doubled, at 100%. This is the largest difference measured anywhere on this page: +2.4 dB on this image, and the restoration network beat the default on every one of the ten soft-scan tests. It carries an animation label in the picker because that is what Anime4K trained it on — on blurred paper it turned out to be the best thing we tried. Public domain, US National Archives; neither pane was retouched.
Test imageCrisp scanSoft scanRestore vs the default
Desktop screen capture−0.77+2.50Inverts
Tool screen capture−0.64+2.49Inverts
1914 typed letter−3.43+2.40Inverts
1874 patent drawing−4.87+2.26Inverts
1888 patent drawing+0.17+1.52Ahead on both
1865 newspaper page−1.55+1.15Inverts
1945 typed report−1.14+1.05Inverts
1920s newspaper, low-res−9.85+0.68Inverts

Decibels of difference between the Restore method and the free default, on the same image, in the same run. Positive means Restore was closer to the original; every 6 dB means the remaining error has halved. Measured 30 August 2026 on an Apple M-series GPU in Chrome — fourteen sources, two degradations, two scale factors, fifteen methods, 600 runs.

Read the two columns as two different questions, not as one score. On a crisp source the restoration network redraws strokes that were already correct, and on a low-resolution newspaper it does real damage. On a soft source the same network is the best thing available, and by a margin nothing else on this page comes close to. The practical rule: look at your file at 100% first. If the letterforms have hard edges, keep the default. If they look like they were photographed through glass, switch.

What we changed after measuring

Does sharpening ruin text?

It is the standard warning, and it is why this page used to default to a method that did no sharpening at all. Measured over twenty documents, it turned out to be the wrong call.

The fear is ringing: push an edge too hard and you get a bright halo either side of every stroke, which on type looks far worse than a little softness. So the old default here reconstructed the pixels and stopped, adding nothing.

Running both over the same fourteen sources settled it. The sharpened default was closer to the original on 19 of the 20 scored test images — all ten soft scans and nine of the ten crisp ones — by between 0.08 and 0.38 dB. Small margins, one exception.

That exception is worth naming, because it carries its own explanation. It is a 1920s newspaper, the lowest-resolution master in the set, and it is the only paper image where the default’s sharpening pushed past the original’s edge energy — 1.04× — losing by 0.10 dB, the smallest margin in the whole comparison.

Why the ringing never showed up

We measured edge energy directly, as the average gradient across the whole image, and compared each result with the high-resolution original of the same page. Ringing means overshooting that number. On crisp paper the default landed at 75% to 97% of the original — still well under. On soft scans nothing came close: every one of the eleven methods finished between 35% and 60%, so there the worry is not sharpening too much, it is that nothing sharpens enough.

Over-sharpening does have a real cost; it just is not at this setting. The one method whose average exceeded the original — a shock filter, at 1.11× on crisp sources — also placed last of eleven there, 3.75 dB behind the default, even though it finished third on soft scans.

And the honest postscript: we then re-ran the same shader at four sharpening strengths — none, light, the default, and the strongest setting the engine has. Every step up measured better on both crisp and soft scans, and even the strongest one stayed under the original’s edge energy. So the default is not the optimum; it is a setting we can now show is on the right side of zero. Raising it affects every page on this site, so it is not a change this one gets to make alone.

19 / 20
Test images where sharpening won
by 0.08–0.38 dB
0.89×
Edge energy vs the original
default, still under it
0.86×
With sharpening switched off
further from the original
600
Runs behind this page
40 inputs × 15 methods
Sizing it

How many pixels do I need for my print size?

Multiply the print size in inches by the DPI. Check your source against this before choosing a scale — it decides whether you need 2× or 4×.

Print sizeAt 300 DPIAt 150 DPITypical use
Business card · 3.5 × 2 in1050 × 600525 × 300Held at reading distance
4 × 6 in photo1200 × 1800600 × 900Photo prints, postcards
5 × 7 in1500 × 2100750 × 1050Framed prints, invitations
8 × 10 in2400 × 30001200 × 1500Portraits, certificates
A4 · 8.3 × 11.7 in2480 × 35081240 × 1754Documents, flyers, CVs
A3 · 11.7 × 16.5 in3508 × 49611754 × 2481Posters, plans
A1 poster · 23.4 × 33.1 in7016 × 99333508 × 4967Viewed from a metre away

Two practical readings of that table. First, the 150 DPI column is not a compromise for anything large: a banner or an exhibition panel is looked at from a distance where 300 dots per inch are invisible, and insisting on them makes an enormous file for no visible gain. Second, if your source already sits in the 300 DPI column, you do not need to enlarge at all — set the DPI, keep the pixels, and you are done.

If it does not, work out the shortfall before picking a scale. A 1200 × 1800 photo needs 2× to clear A4 comfortably. A 620 × 880 phone screenshot needs 4× — and that is the case where you should read the next section before pressing go.

Set expectations

Does it help to increase the DPI of an image, or increase DPI of image files at all?

Setting the number does nothing. Adding pixels does something, and how much depends entirely on what you are starting from — these six cases came out of the measurements, not out of a marketing brief.

  • Improves a lot

    A soft or slightly out-of-focus scan

    The biggest win we measured, and the one nobody expects. On ten blurred documents the Restore & Enlarge (2×) method beat plain enlargement every single time, by 0.3 to 2.5 dB — larger than the gap between any two methods on crisp material. It costs a 924 KB download and about twice the time.

  • Improves a lot

    Screen captures and UI screenshots

    Synthetic type on flat backgrounds enlarges beautifully, and the trained option pulled 3.5 dB ahead of the default on both crisp desktop captures we tested. If you are putting a screenshot into a printed document, this is the case the tool handles best.

  • Improves a lot

    A source that is already big enough

    If your pixel count already clears the table above, all you need is the header. Resampling a file that does not need it costs a little sharpness for nothing, so pick 1× and just set the DPI.

  • Improves some

    Crisp typed and printed pages

    Enlarging is safe and does not hurt, but changing method barely matters: across a typed 1945 report the top six methods sat inside 0.85 dB of one another. Whatever the paper holds, you get — a careful enlargement will not spoil it and will not invent more of it.

  • Improves some

    Going 4× to reach a print size

    You will get the pixel count a print shop asks for. You will not get the strokes: measured against a real high-resolution scan, no 4× method held more than 81% of the original's edge energy on crisp sources or more than 55% on soft ones, dropping to 24% on typewritten paper — and the method that leads on crisp sources finishes last on soft ones. Usable, not crisp — prefer 2× whenever the arithmetic allows.

  • Cannot be fixed

    Old maps, engravings and dense hatching

    The lowest scores in the entire corpus: a 1730 engraved map came back at 16.4 dB against 36.8 for a typed letter. At half resolution, a hundred engraved lines per inch have already merged into one another, and enlarging merges them more confidently. No method here sees through that.

How to use it

Three steps, no account

Everything happens on this page. There is no upload to wait for, no email to confirm and no limit on how many files you do.

  1. Step 1

    Drop your files in

    PNG, JPEG or WebP, one file or a dozen. The page checks what your device can allocate before you choose a scale, so you find out about limits up front rather than half way through a 4× job.

  2. Step 2

    Look at your source at 100%, then pick

    Hard letter edges mean the default is right. Edges that look photographed through glass mean Restore & Enlarge (2×) is right — that choice is worth up to 2.5 dB. Then work out the pixels your print size needs at 300 DPI and pick the smallest scale that clears it.

  3. Step 3

    Download the PNG

    The file comes back as a PNG with a pHYs header declaring 300 DPI, so InDesign, Illustrator, Word, Preview and print RIPs place it at the right physical size. The settings panel also offers 72, 150, 350 and 600 if your job needs one of those. No watermark, no sign-up, no export cap.

Verified, not asserted

Is the 300 DPI in the file real?

Yes, and it is checkable without trusting us. Here is what a file this page produced contains, read back byte by byte.

What is in the file

Taking one output at random from the evaluation run and parsing it: the pHYs chunk holds 11,811 pixels per metre on both axes with the unit flag set to metres, which is 300 dots per inch to four decimal places. It sits at byte 33, after the image header and before the first block of image data, which is where the PNG specification requires it. All 841 chunks pass their CRC, so nothing was corrupted on the way through.

Two independent readers agree, which matters more than our own parser agreeing with itself: macOS sips reports 300.000 DPI, and ImageMagick reports 118.11 pixels per centimetre — the same number in the other unit.

How to check your own

On a Mac, open the downloaded PNG in Preview and choose Tools → Show Inspector; the resolution is listed there. On Windows, right-click the file, choose Properties → Details, and read the Horizontal Resolution field. Do not use MS Paint for this — it reports your monitor’s DPI rather than the file’s, so it shows the same value no matter what the file says.

The stronger check is the one that costs nothing: note the pixel dimensions before and after. If they changed, the file has more information in it than it did. If a DPI tool gives you back the same dimensions, it changed the label and nothing else.

Why it is different

Free without an asterisk

Pixels first, header second

The image is rebuilt on your GPU and only then declared 300 DPI. Doing it the other way round is what makes a metadata-only converter free — nothing is computed.

A real pHYs header

Written in the position the PNG spec requires, with every chunk CRC intact. Preview, sips and ImageMagick all read 300 DPI back out.

Nothing is uploaded

Files are decoded, resampled and re-encoded inside this tab. There is no server in the loop and nothing for us to store.

Genuinely unlimited

No credit counter, no daily cap, no sign-in wall before the download button. Your GPU does the work, so the hundredth file costs us what the first one did.

Honest about the ceiling

Every number on this page comes from an evaluation run over fourteen real documents, including the cases where the tool does badly and the one where its default lost.

Works offline

Load the page, disconnect from the internet, and it still runs. That is the proof the privacy claim is real rather than a promise.

Troubleshooting

When it will not do what you want

“My print shop still says the resolution is too low”

They are looking at pixels divided by print size, not at the header. Take the physical dimensions they are printing, multiply by 300, and compare with the pixel count of your file. If it falls short, raise the scale — or reduce the print size, which is free and always works.

“WebGPU is not available”

Either the browser is too old or hardware acceleration is switched off. In Chrome, check chrome://gpu and re-enable graphics acceleration in settings. Firefox is still rolling WebGPU out.

The file came back much larger

It has four times the pixels at 2× and sixteen times at 4×, stored losslessly. That is the cost of a file that genuinely holds the detail; a PNG that is the same size as the JPEG you put in would be a JPEG in disguise. Convert to JPEG afterwards if the size matters more than the last few percent of quality.

A large job stopped part-way

4× of an already large scan can exhaust the graphics driver mid-job — an A4 page scanned at 300 DPI is 8.7 megapixels, and 4× of it is 139. The same job often succeeds on a second attempt. If it fails twice, drop one scale step; the difference is smaller than the wait.

FAQ

Frequently asked questions

Does changing the DPI of an image actually make it better?+

On its own, no — and this is the thing almost every DPI converter quietly avoids saying, with one honourable exception that says it outright. DPI is a number stored in the file header that tells a printer how large to print each pixel. Changing it from 72 to 300 without changing the pixels does not add any detail; it instructs the printer to pack the same pixels into a smaller area, so the print comes out smaller rather than better. What genuinely helps is having more pixels. This page enlarges the image first and then writes the DPI, which is why the output prints sharper at the size you wanted rather than merely claiming to.

How do I convert an image to 300 DPI, or make an image 300 DPI for print?+

Drop the file in above, pick a scale, then download. The result is a PNG with more pixels and a pHYs header declaring 300 DPI, so design software and printers read it as a 300 DPI image and place it at the right physical size. There is no account, no credit counter and no watermark, and the file is never uploaded — the resampling runs on your own graphics card.

My scan is a bit blurry. Does that change which method I should pick?+

Completely, and this is the single most useful thing on this page. We measured every method twice over the same fourteen documents: once on crisp scans and once on the same scans softened by a lens-blur pass. The rankings invert. On crisp sources the default is the best of the free options and the restoration network is ninth of eleven; on soft ones that same restoration network beats the default on all ten, by up to 2.5 dB — and takes first place outright on seven of them. It is listed as Restore & Enlarge (2×). If your scan looks soft before you enlarge it, switch to it and let the file re-run; that is a bigger difference than any other choice on this page.

What DPI do I need?+

300 DPI is the default here and the standard for commercial printing — it is what print shops usually ask for. The other four values sit next to it in the settings panel. 150 DPI is fine for large items viewed from a distance — posters, banners, exhibition panels. 72 DPI is the web default and means nothing on screen, since browsers work in pixels and ignore the header entirely. 350 DPI is what Japanese print shops ask for on colour originals where the English-speaking trade asks for 300. 600 DPI is for fine art reproduction and line art, and only pays off if the source has the detail to support it.

How many pixels do I actually need for a given print size?+

Multiply the print size in inches by the DPI. An A4 page is roughly 8.3 × 11.7 inches, so at 300 DPI you need about 2480 × 3508 pixels. A 4 × 6 inch photo needs 1200 × 1800. If your source is smaller than that, upscaling here gets you to the pixel count — and while it cannot invent detail that was never captured, a properly reconstructed enlargement prints considerably better than letting the printer's own naive scaling do it.

Is 2× or 4× better for print?+

2× if you can get away with it. We measured edge energy — the average gradient across the image — against a real high-resolution scan of the same page. At 2× the default holds 75% to 97% of it on paper. At 4× no method holds it: across the four measured, edge energy landed between 59% and 81% on crisp sources and between 29% and 55% on soft ones, dropping as low as 24% on typewritten paper. The method that leads on crisp sources is the one that finishes last on soft ones — 81% there, 29% here, and it won none of the ten soft inputs. 4× gets you the pixel count a print shop asks for; it does not get you the strokes. If your source is far too small for the print size, expect a usable file rather than a crisp one.

Why is the output a PNG when I put in a JPEG?+

PNG is lossless, so a freshly enlarged image is not immediately degraded by JPEG compression, and its pHYs chunk is the cleanest place to store a real DPI value. Every still comes back as a PNG whatever went in, and the download is named .png so nothing downstream is misled about what it is holding. If your print shop needs a JPEG or TIFF, convert the downloaded PNG afterwards — the pixels are already there by then, and most print workflows prefer the PNG anyway.

Is anything uploaded?+

No. The resampling runs on your GPU and the header is rewritten in your browser. Load the page, disconnect from the internet, and it still works. To be fair to the alternatives: some metadata-only DPI tools are also purely local. The difference between them and this page is not where the work happens, it is whether any work happens to the pixels at all.

Will this fix a photo that is blurry rather than small?+

Partly, and more than we expected before measuring it. On softened scans the Restore & Enlarge (2×) method recovered between 0.3 and 2.5 dB over plain enlargement on every test image. What it cannot do is undo a focus miss or motion blur, because that information was never recorded — it is reconstructing plausible strokes, not recovering real ones. If softness rather than size is the whole problem, the blurry photo page is the better starting point. And if the source is an old map, an engraving or anything with dense fine hatching, be realistic: that material scored lowest of everything we tested.

More free tools on this site

Change DPI of image, for real, right now

Drop a file in and it is resampled on your own machine, then labelled. No account, no watermark, no limit.

Choose a file